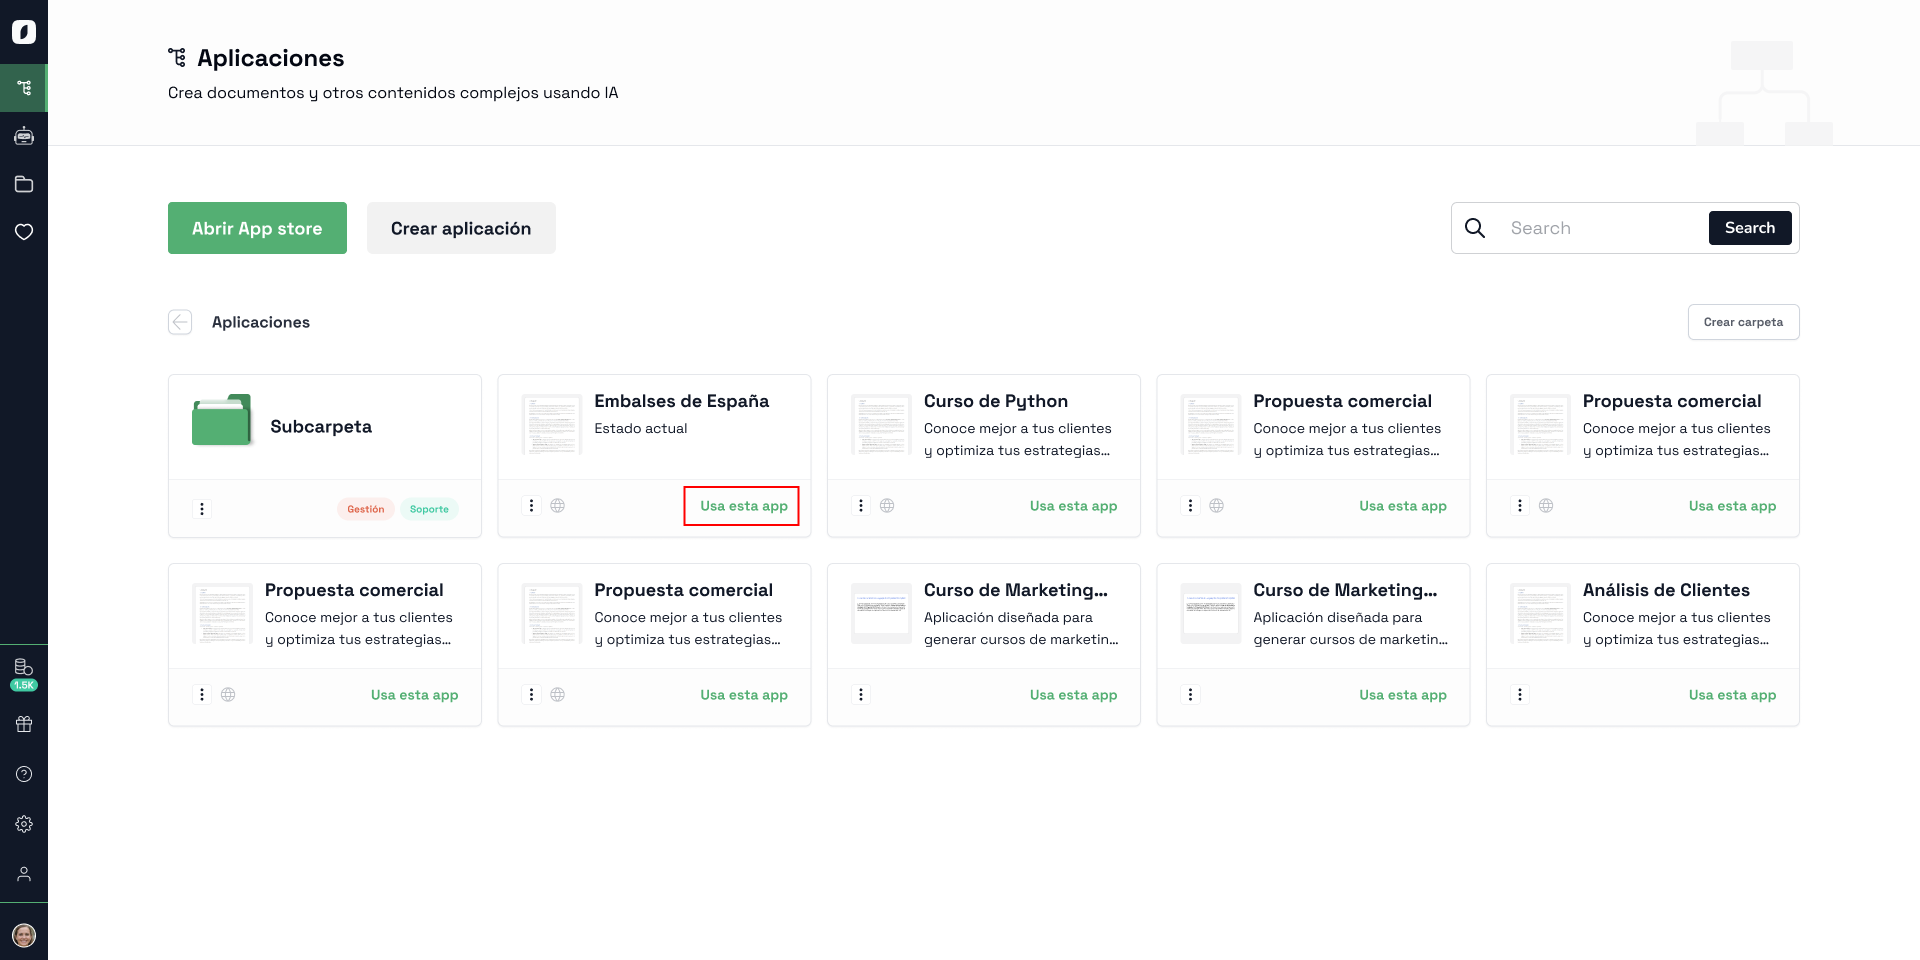
Ready-to-use AI Apps
Easily manage evaluation processes and produce documents in different formats.
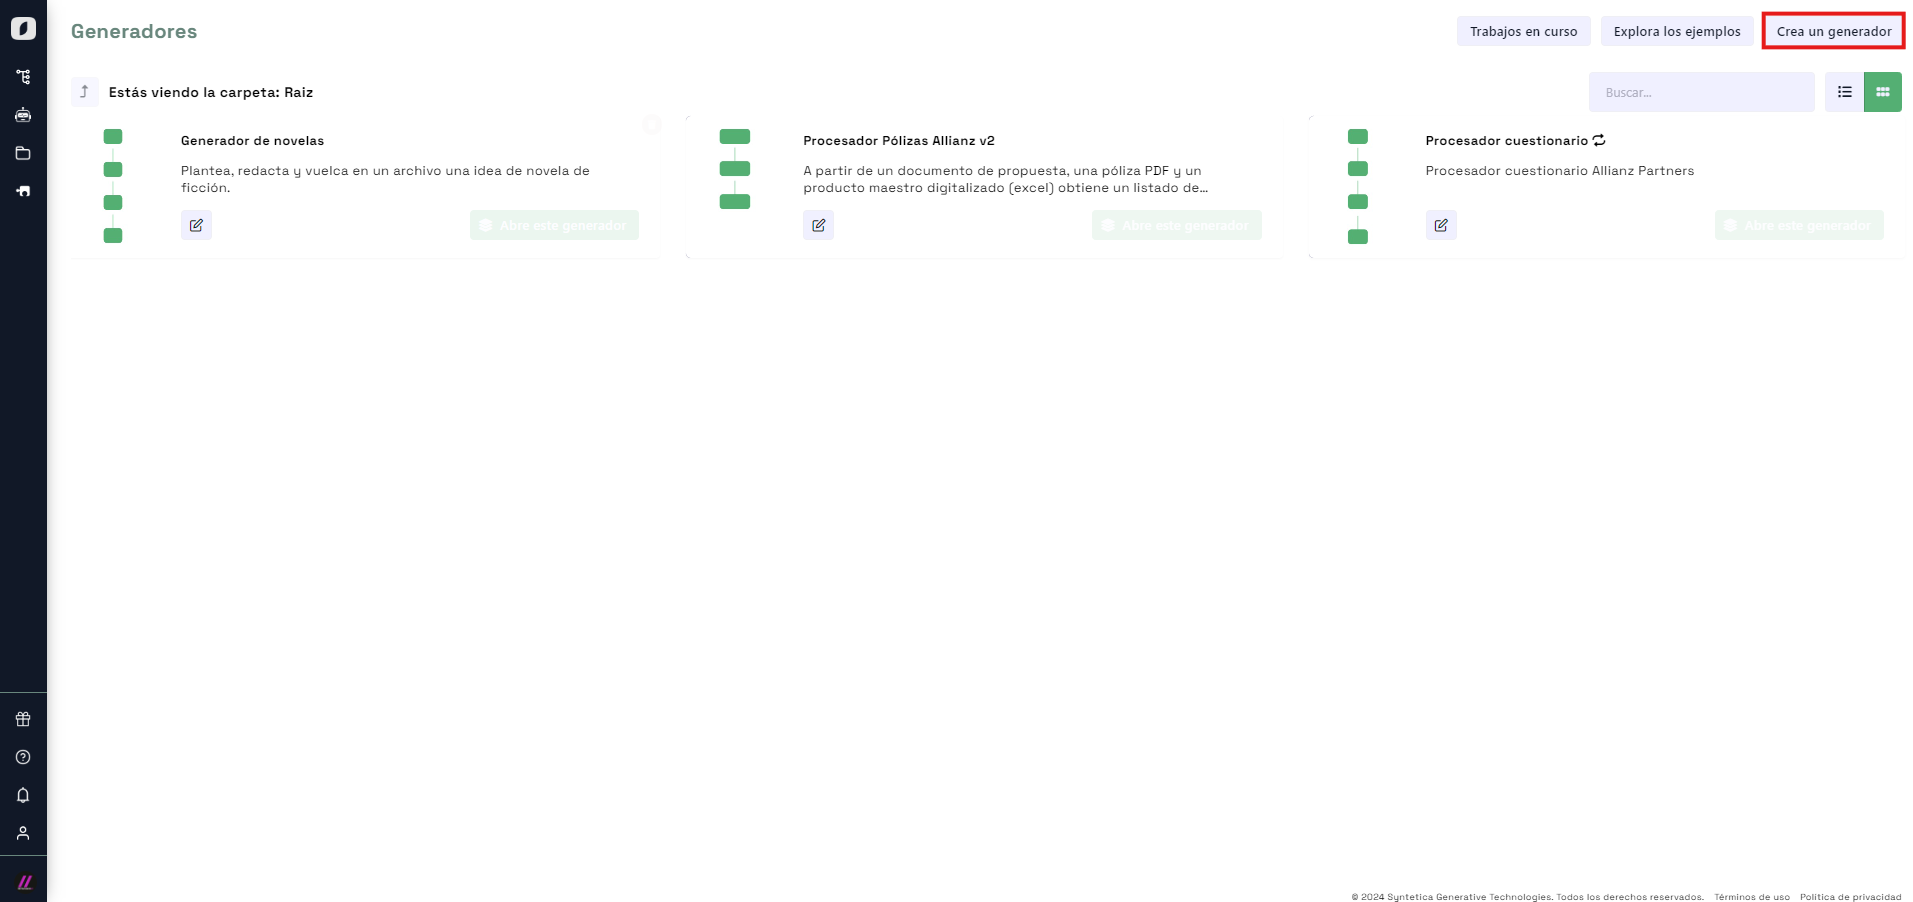
Quick Start
Let's plan a themed party for our coworkers. First, go to the 'Apps' section and select 'Create app'.
Add the first block
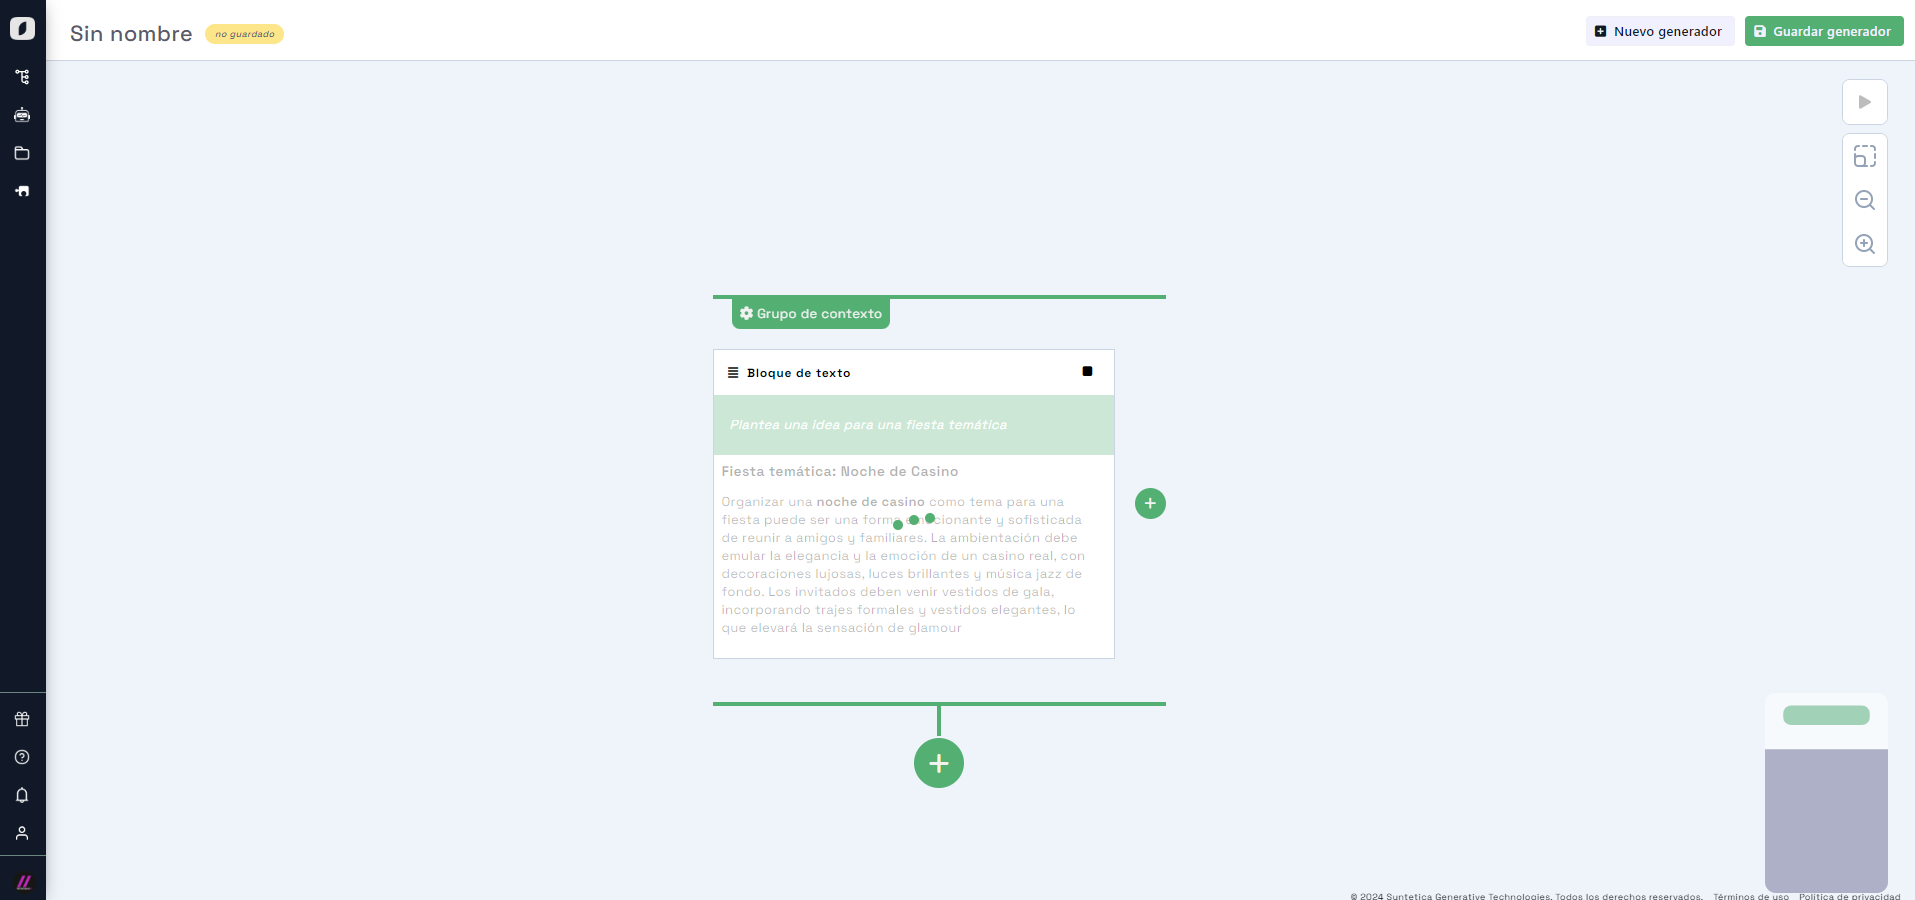
Now add the first block. An interface will appear to select the type of initial block. Click on "Text" to select it.
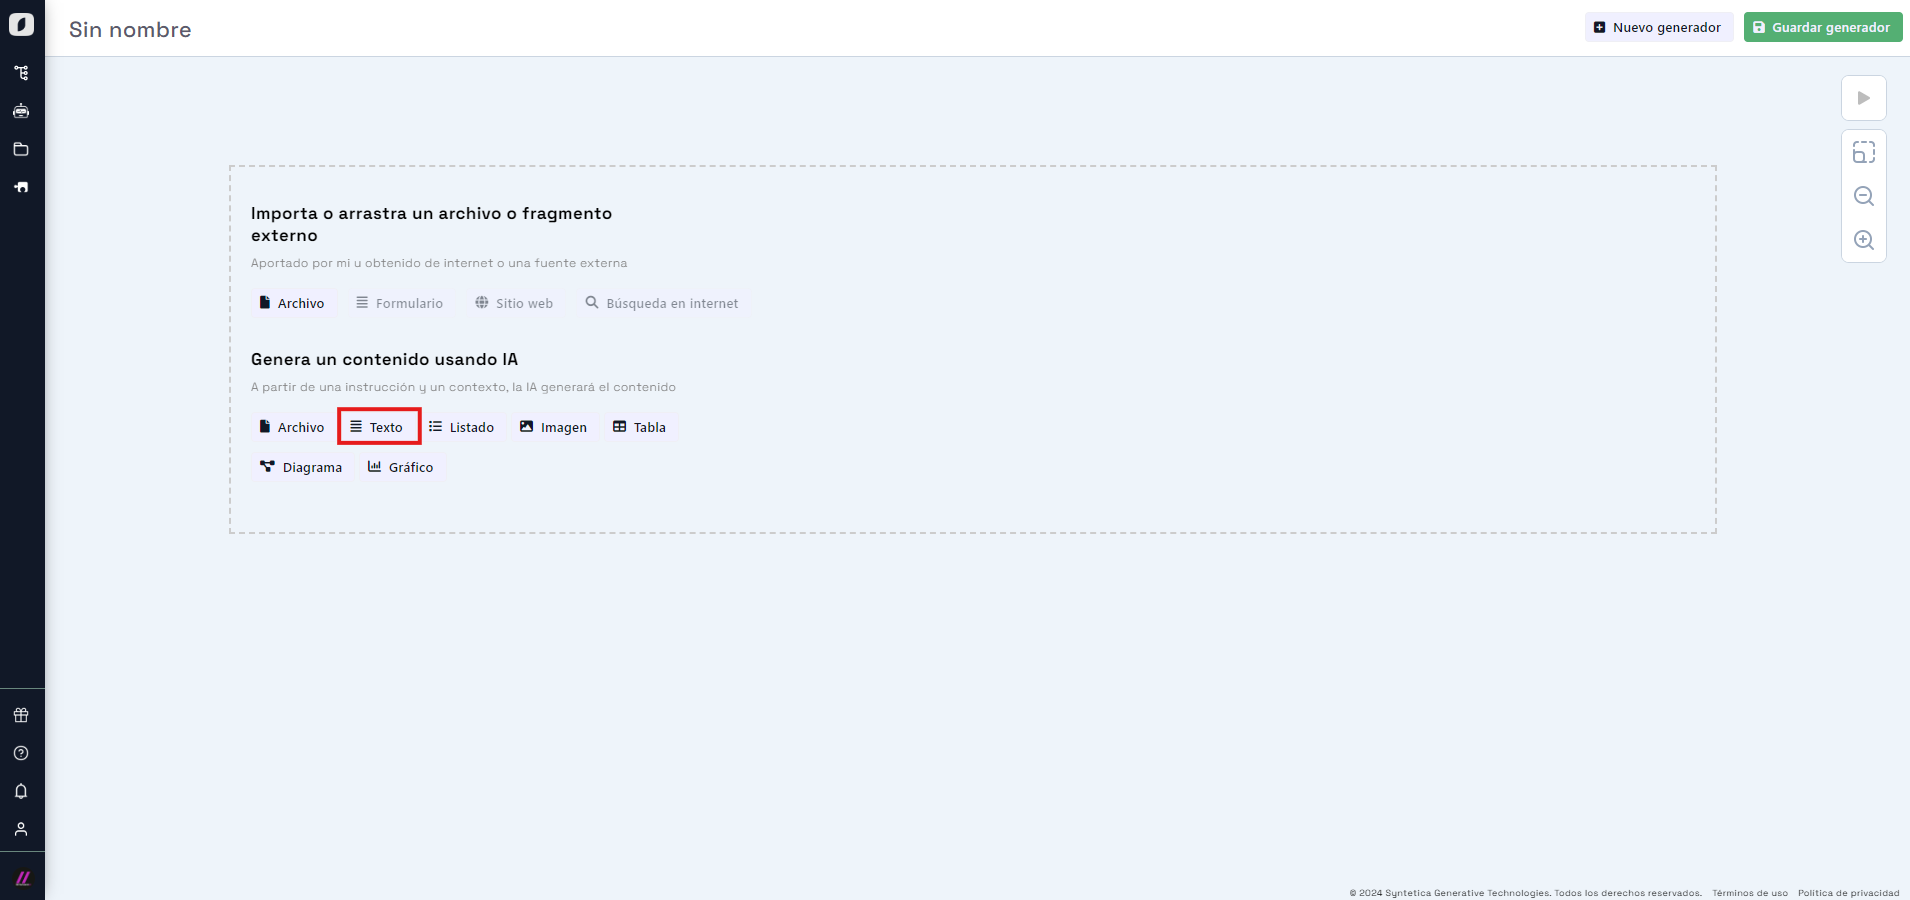 Interface for selecting the initial block type.
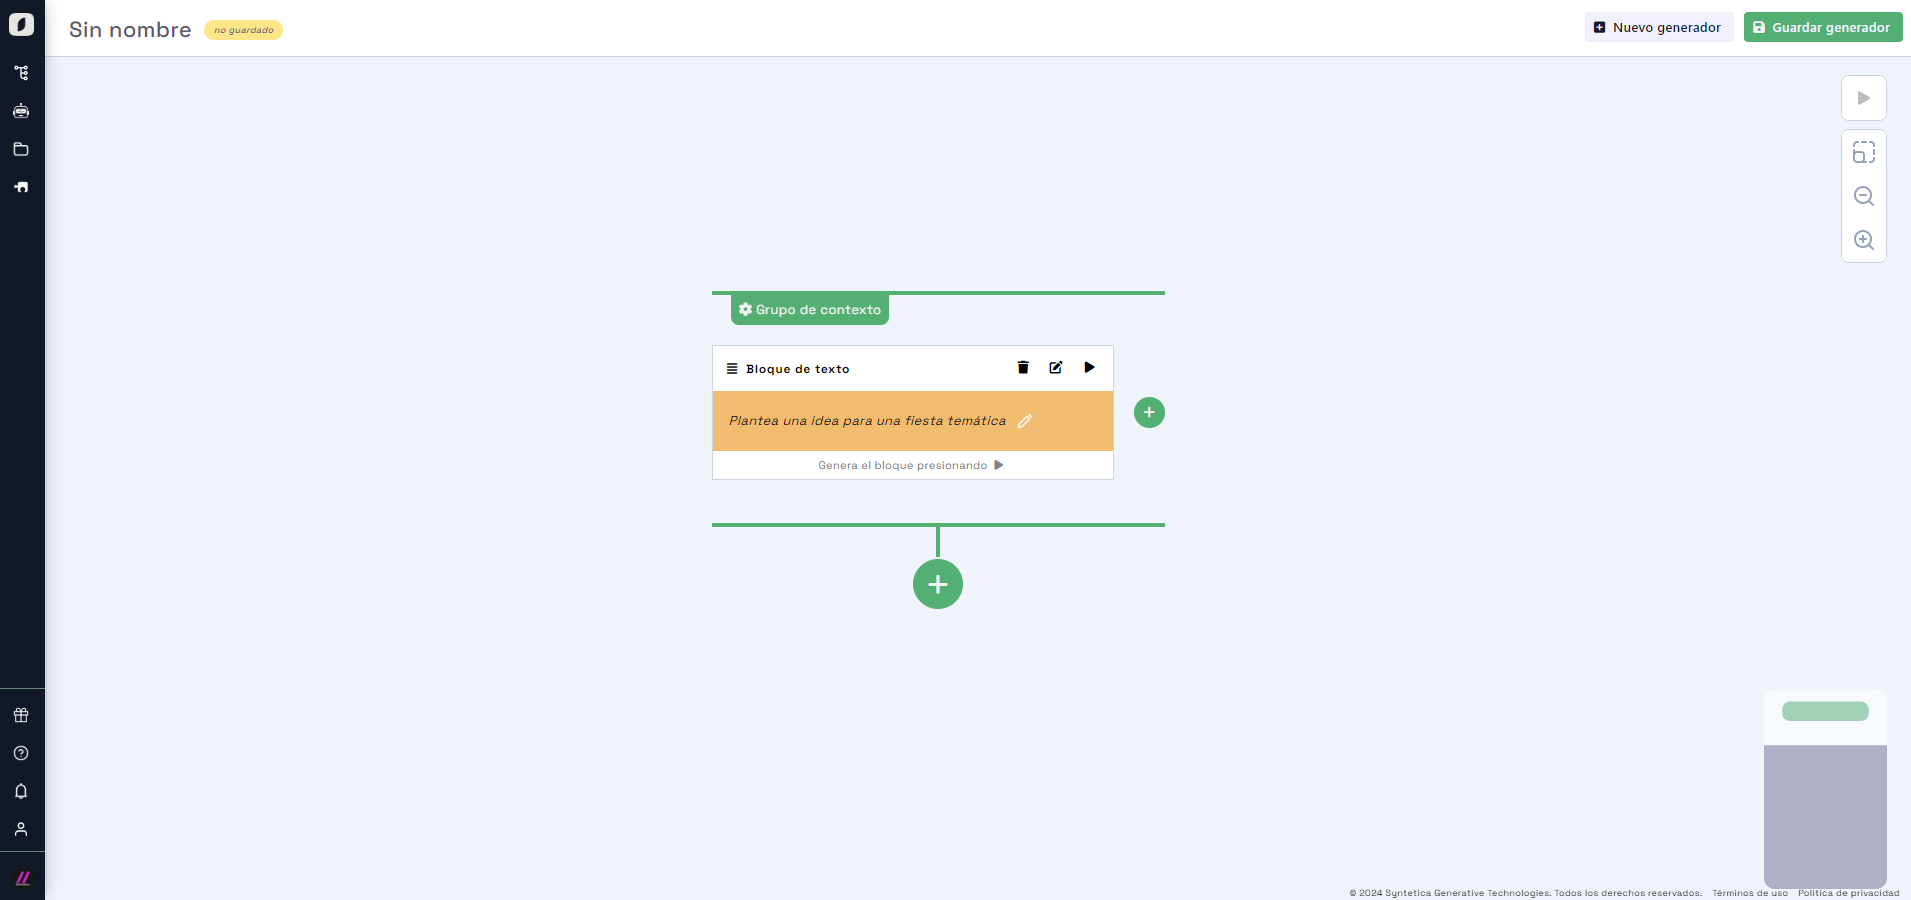
Doing so will add the text generation block to the editing area, allowing you to enter a generation prompt. We'll write: "Come up with a themed party idea", then click the "✓" button.
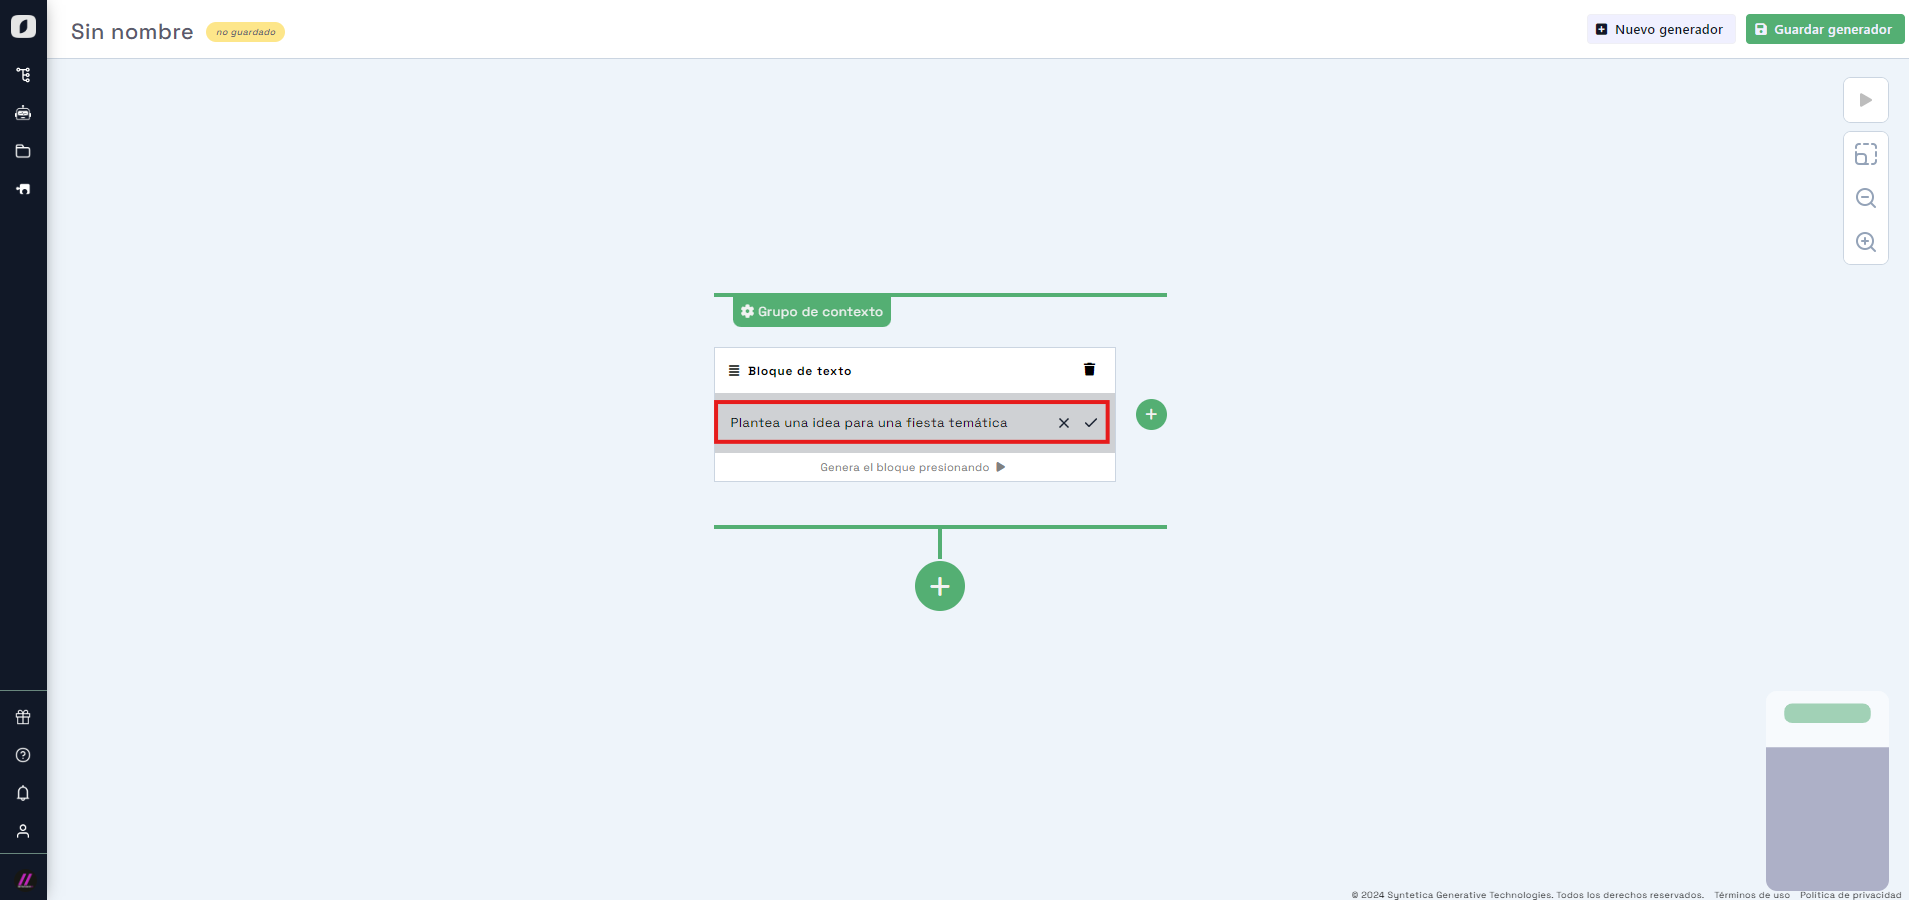
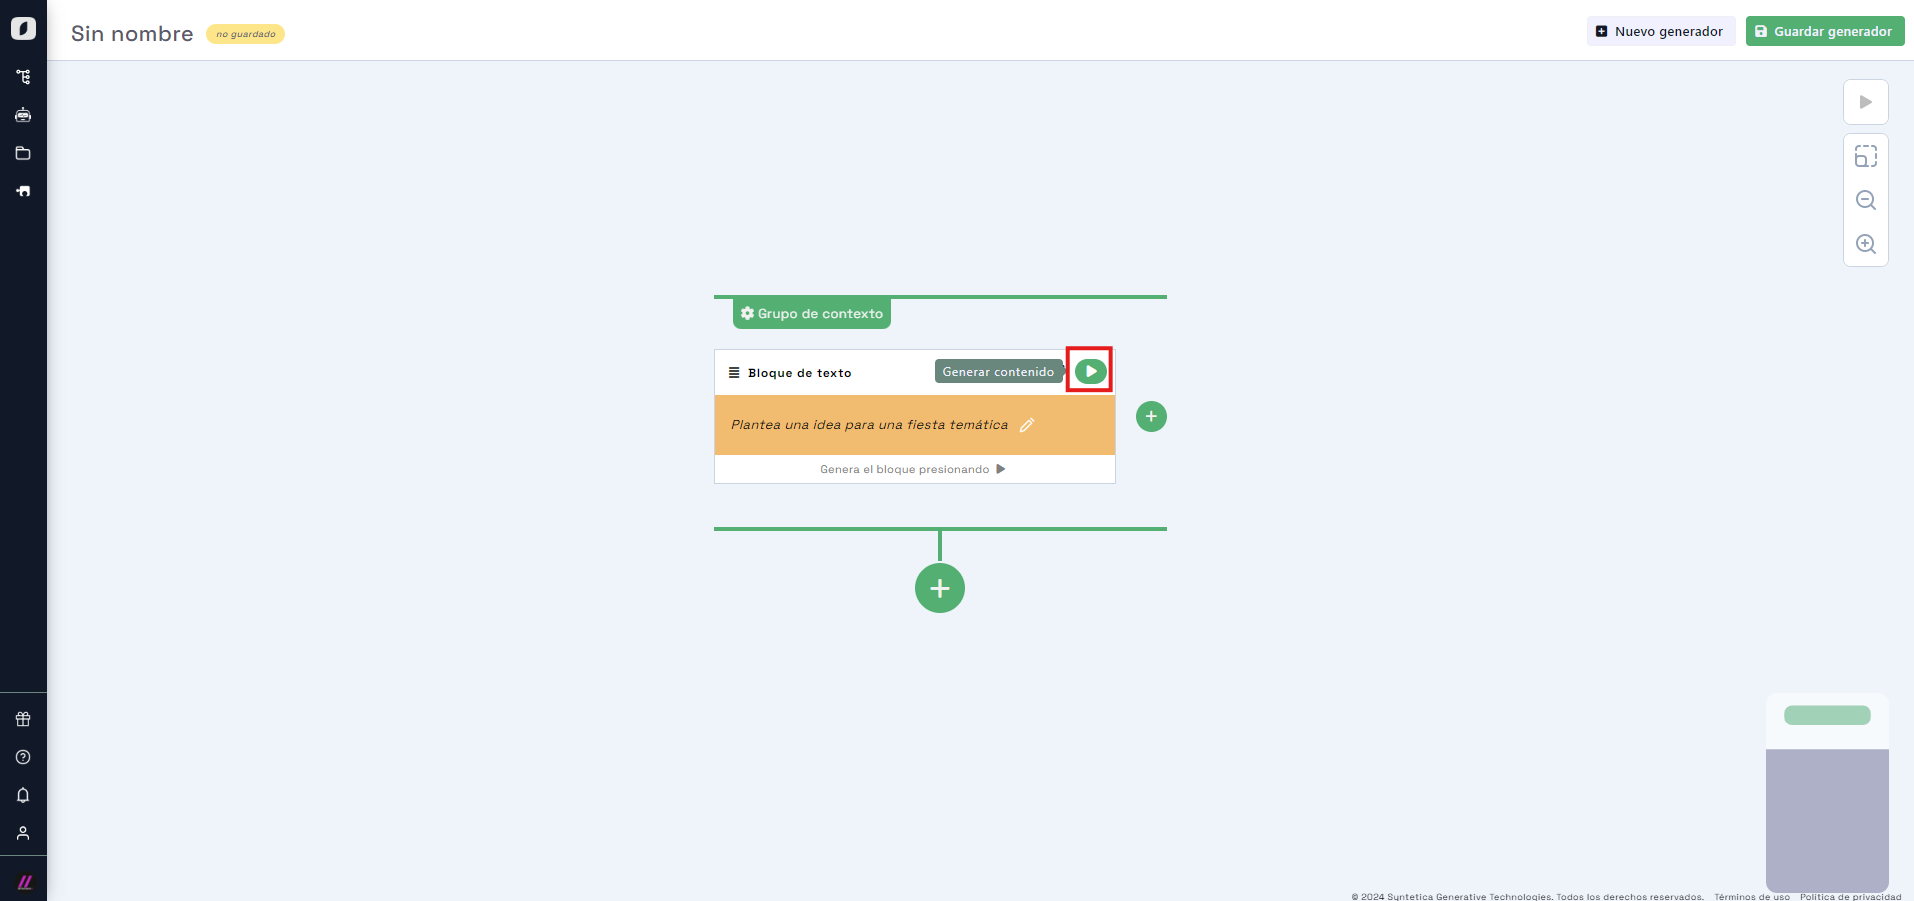
Your generator now has one block, located within a context group. Any blocks derived from this context group will have access to the original idea. You can continue building the generator or generate the content to test the prompt by clicking the "play" button in the top right corner of the block. You’ll see the content being generated in real time.
Add more blocks to the context group
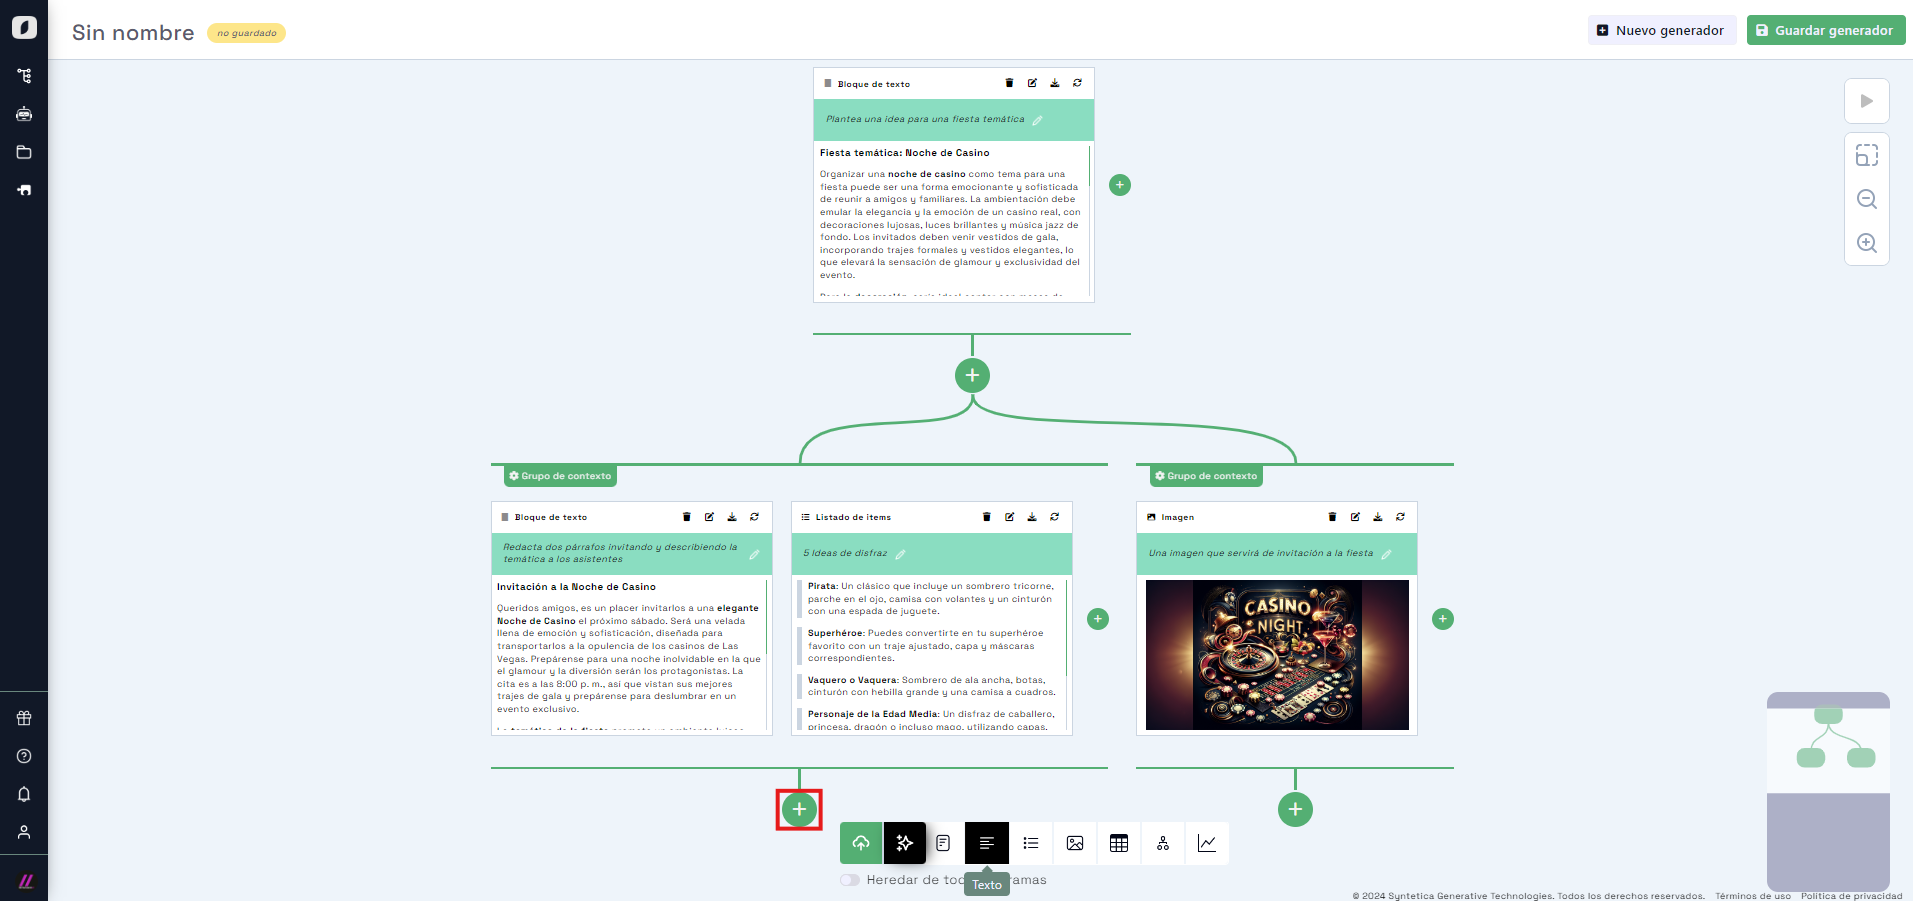
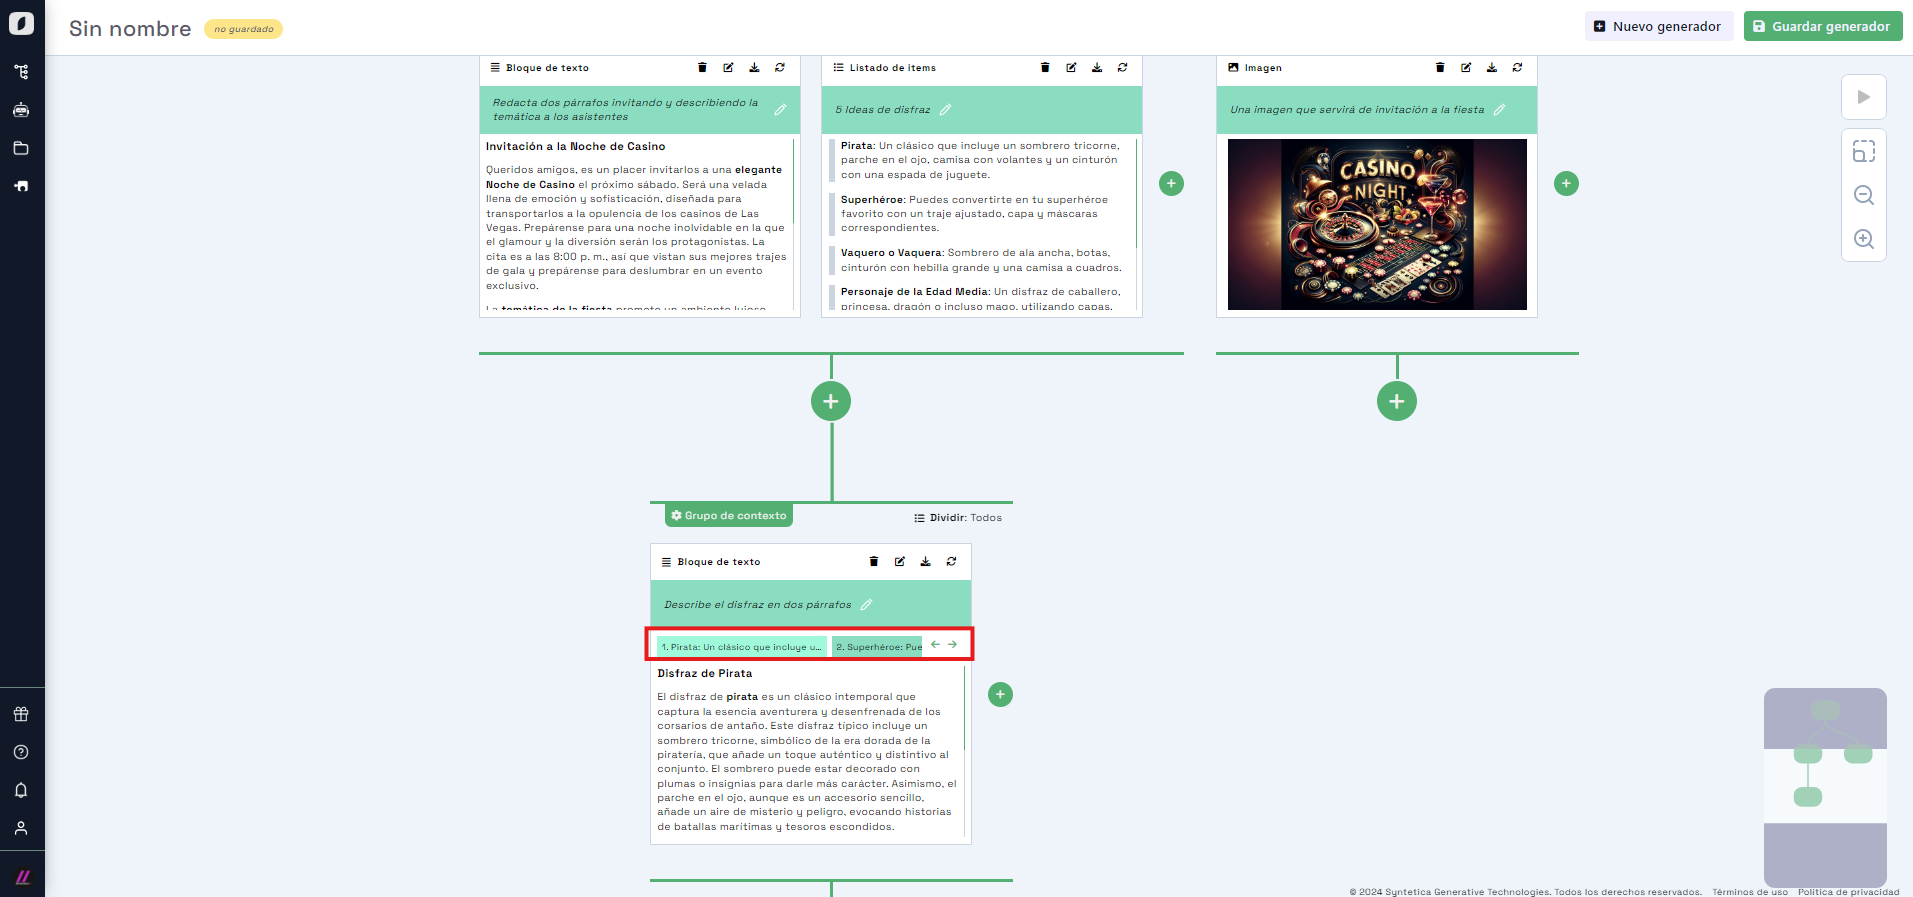
Let's add a second block that will be aware of the first. Click the add button connected to the context group. A floating interface will appear to select a new text block. This time, enter the prompt: "Write two paragraphs inviting people and describing the party theme."
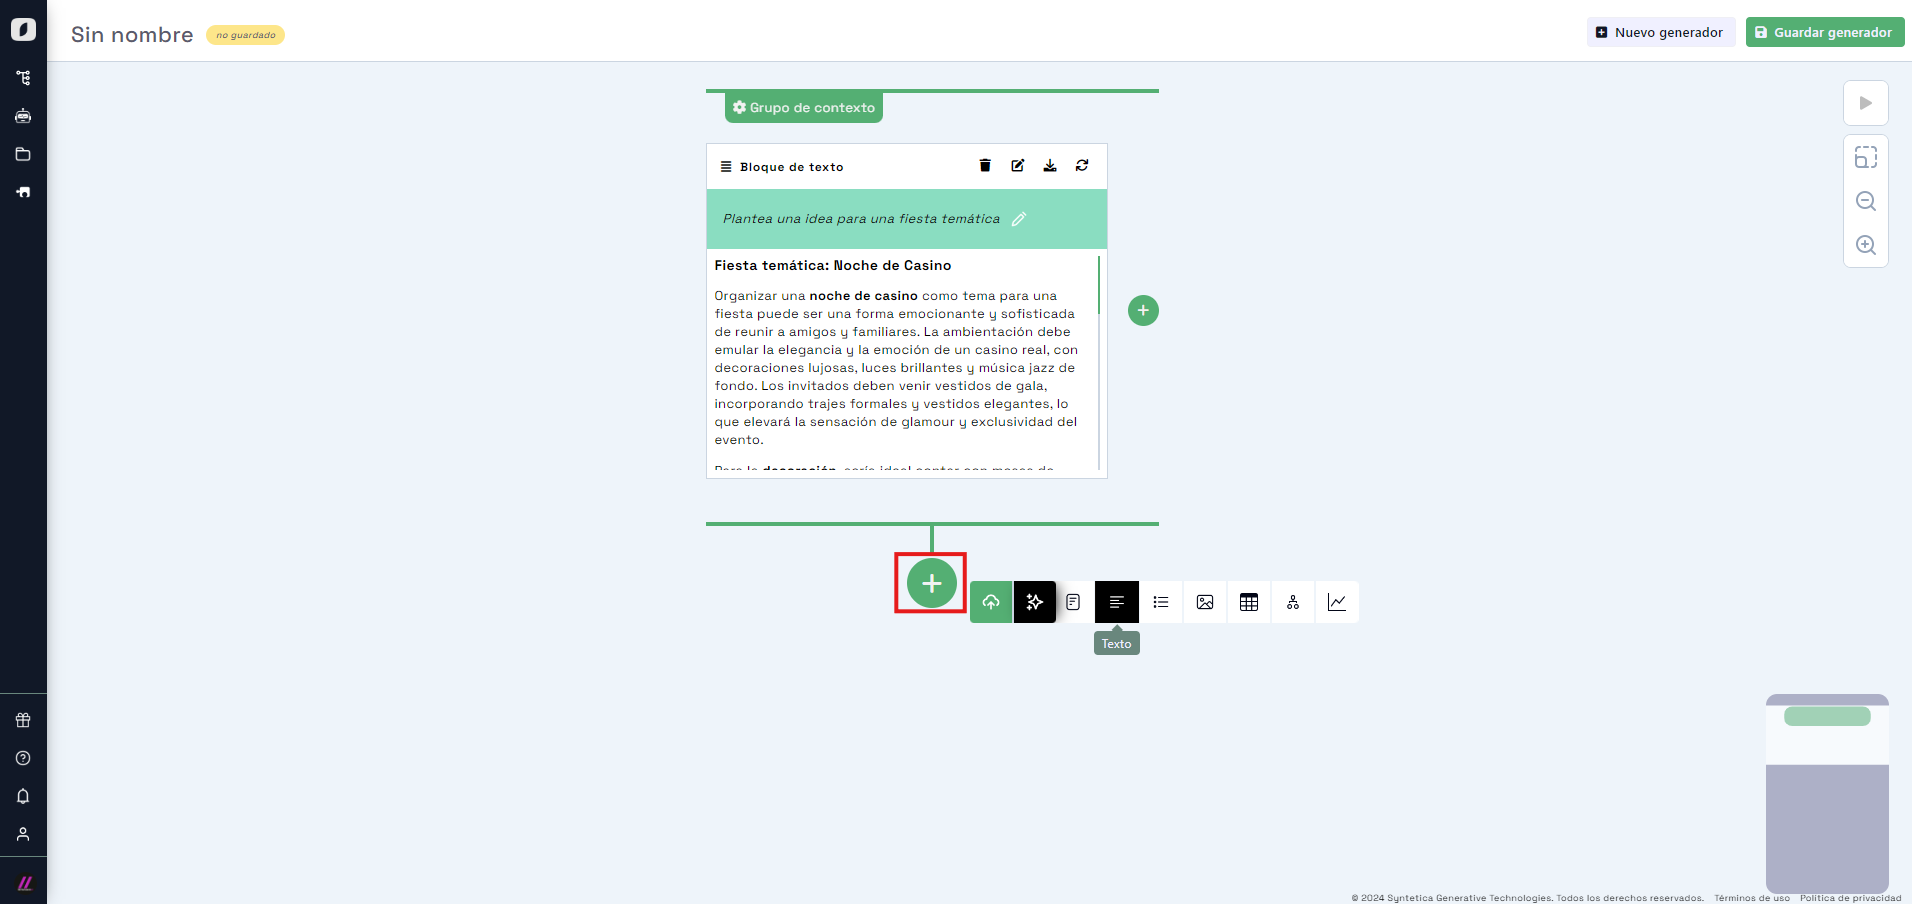
This new block is connected to the first one, so when you click "play," the generated text will reflect the idea set in the previous block, meaning the first block is "in context" for this one.
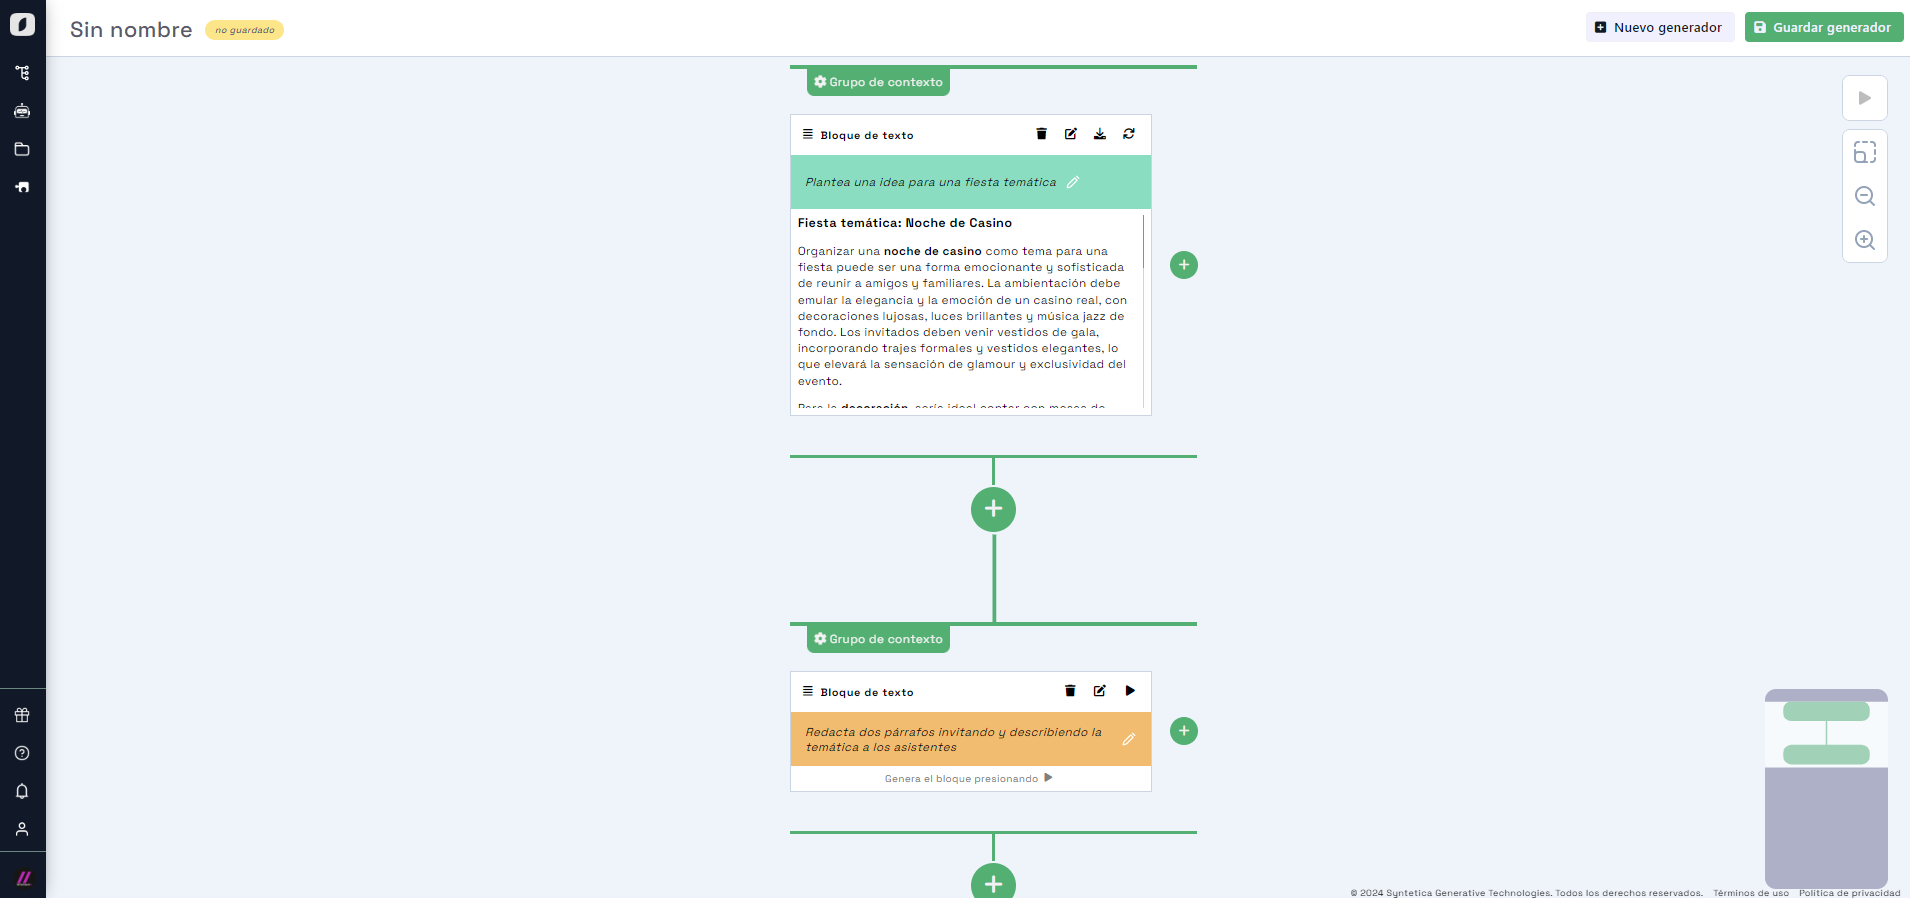
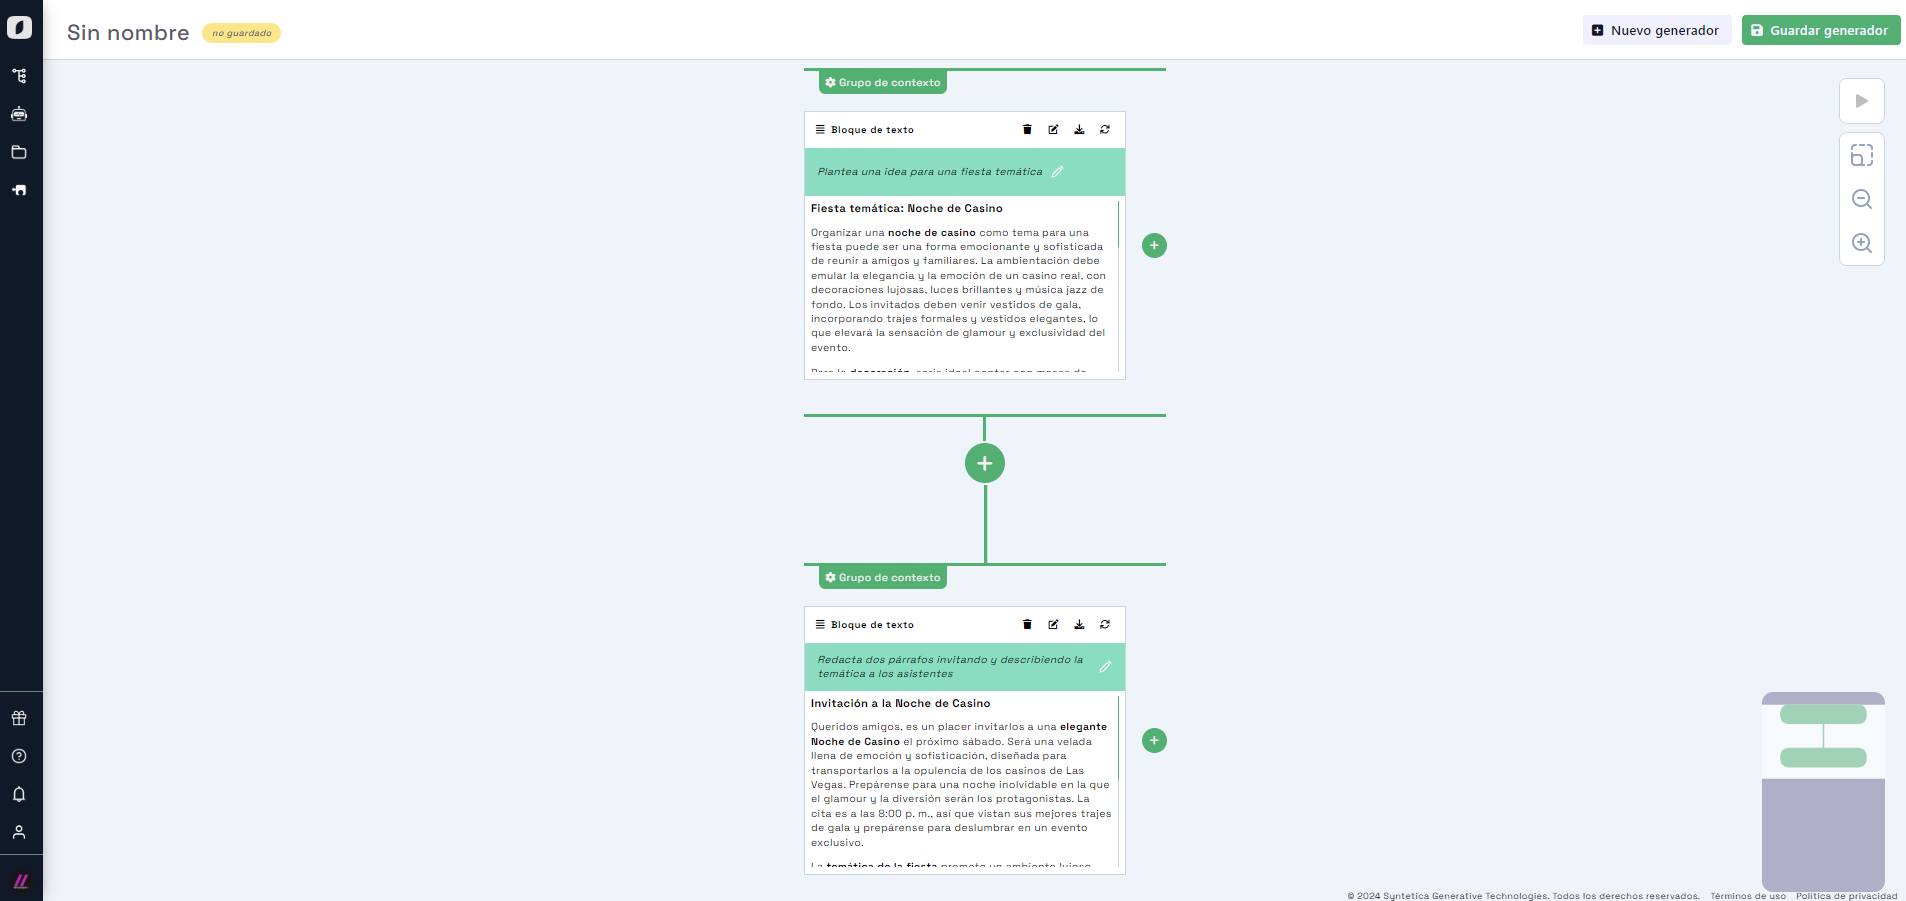 Text block with content generated based on the previous block's idea.
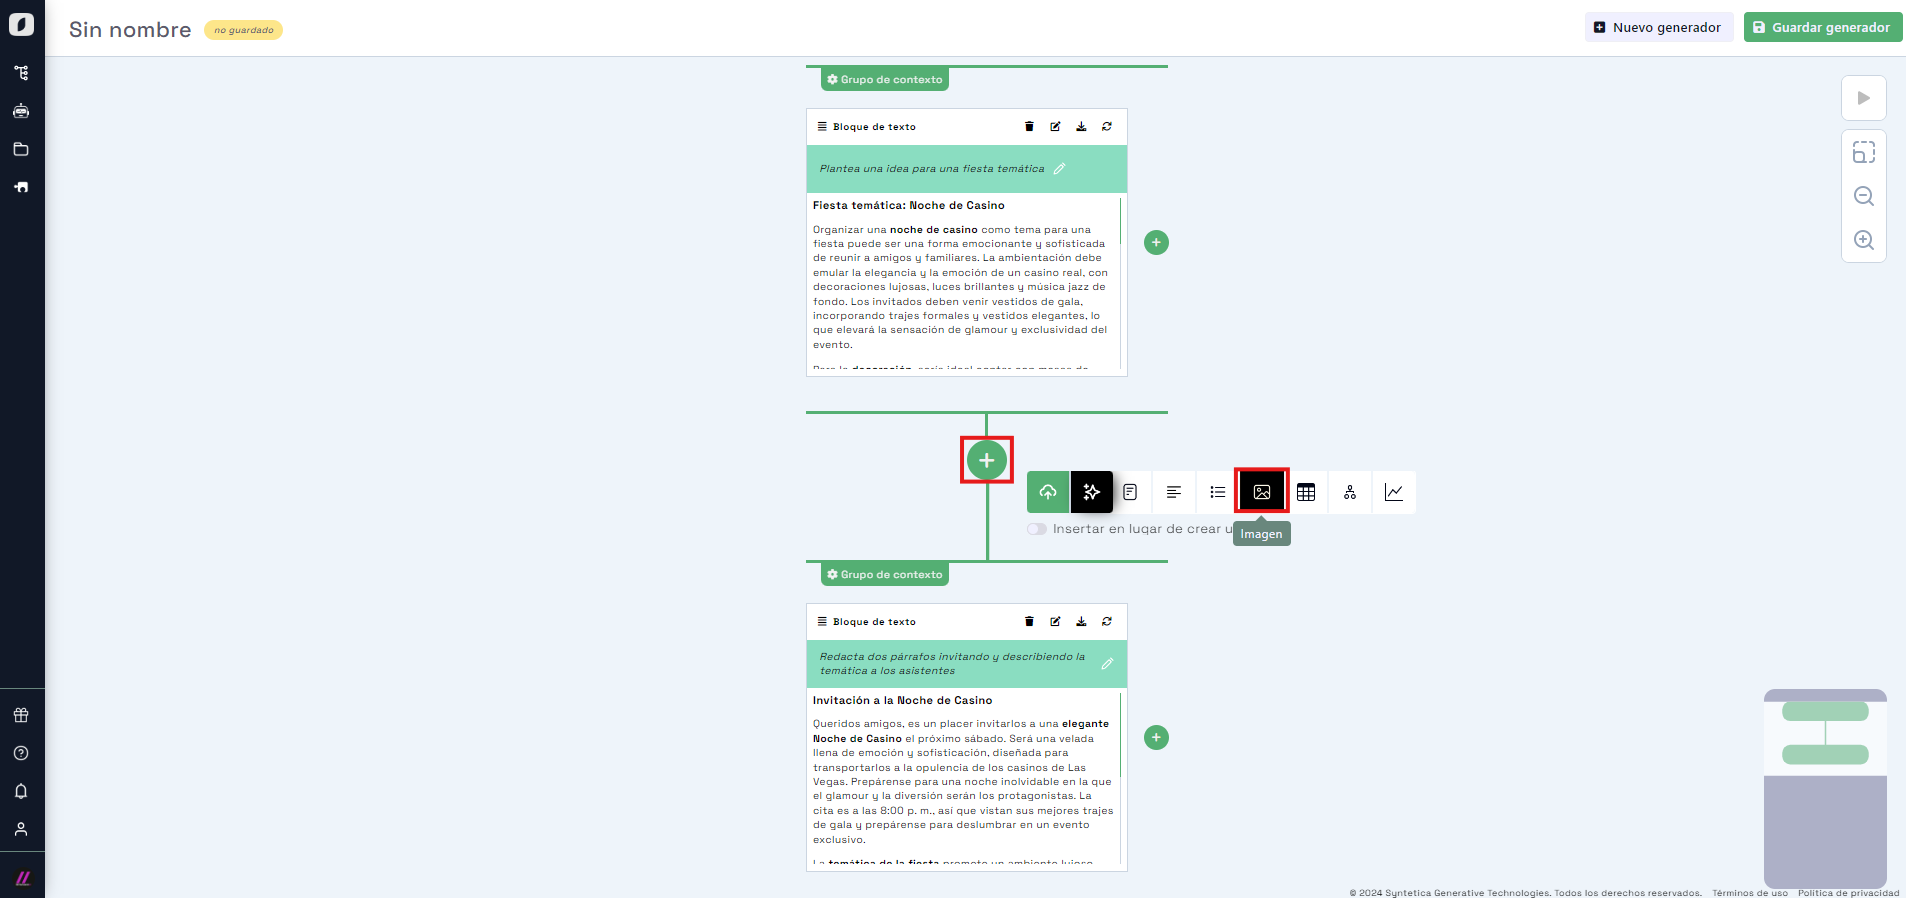
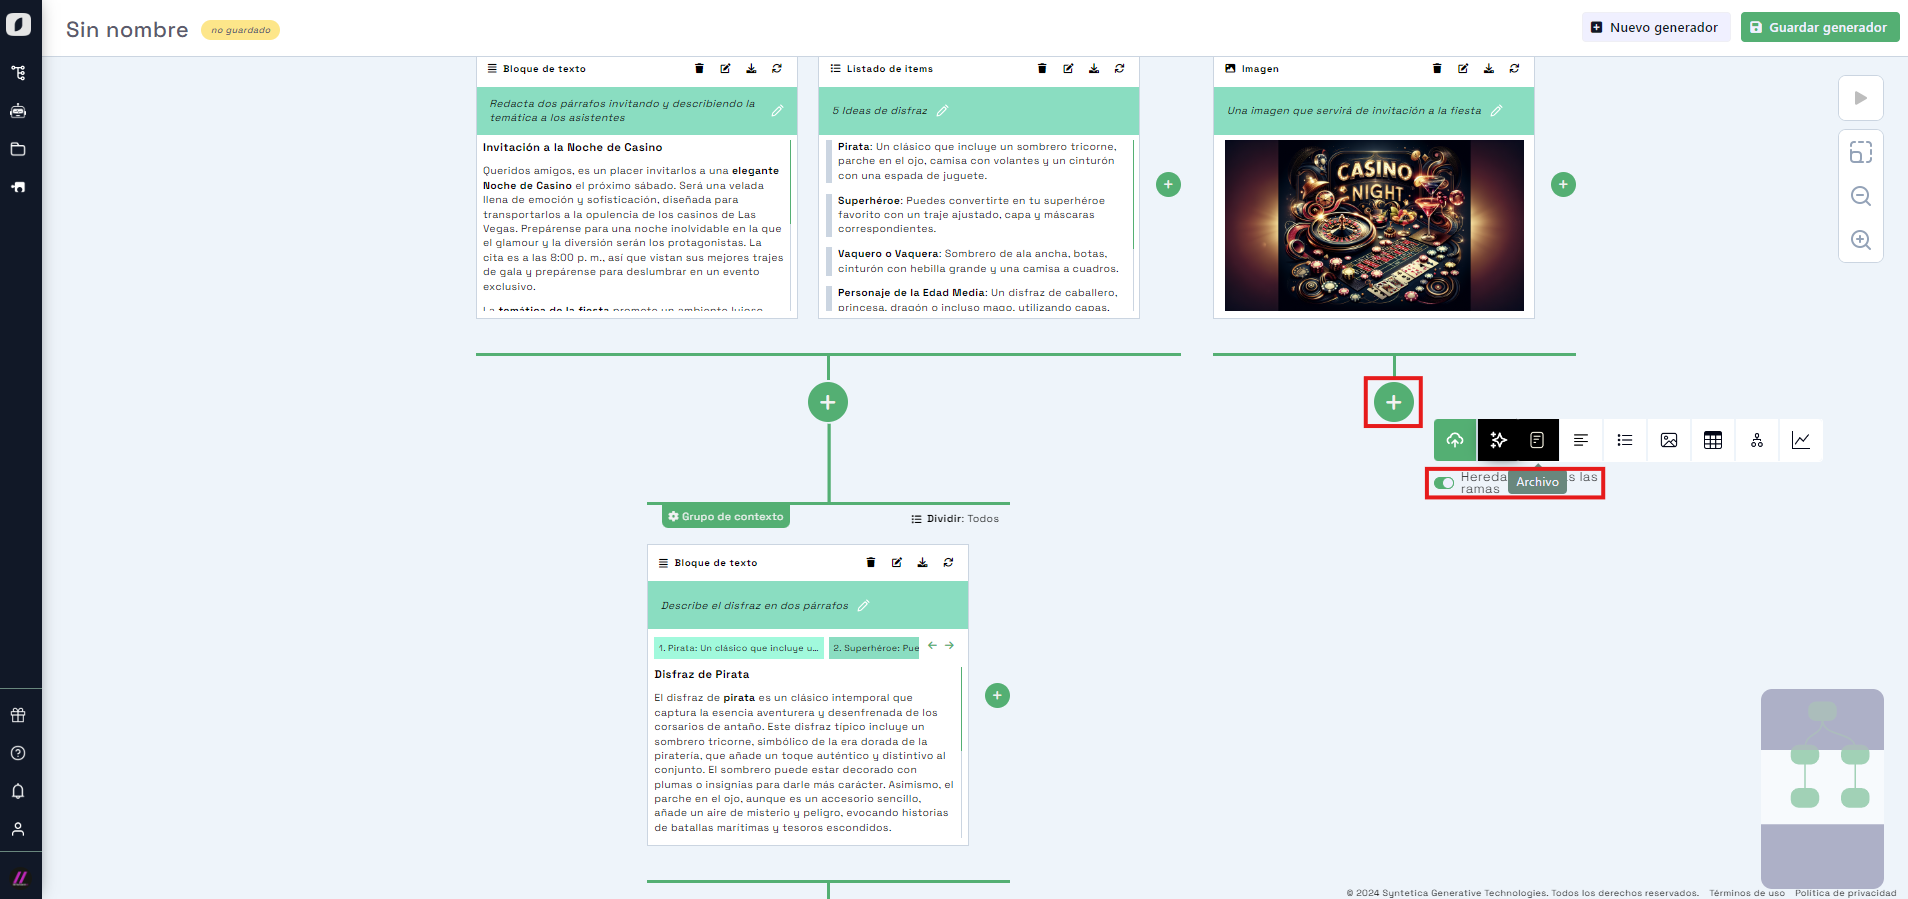
Now we’ll add another block also derived from the first, by clicking the "+" button below the first context group. Select "Image" and write the prompt: "An image to serve as the party invitation."
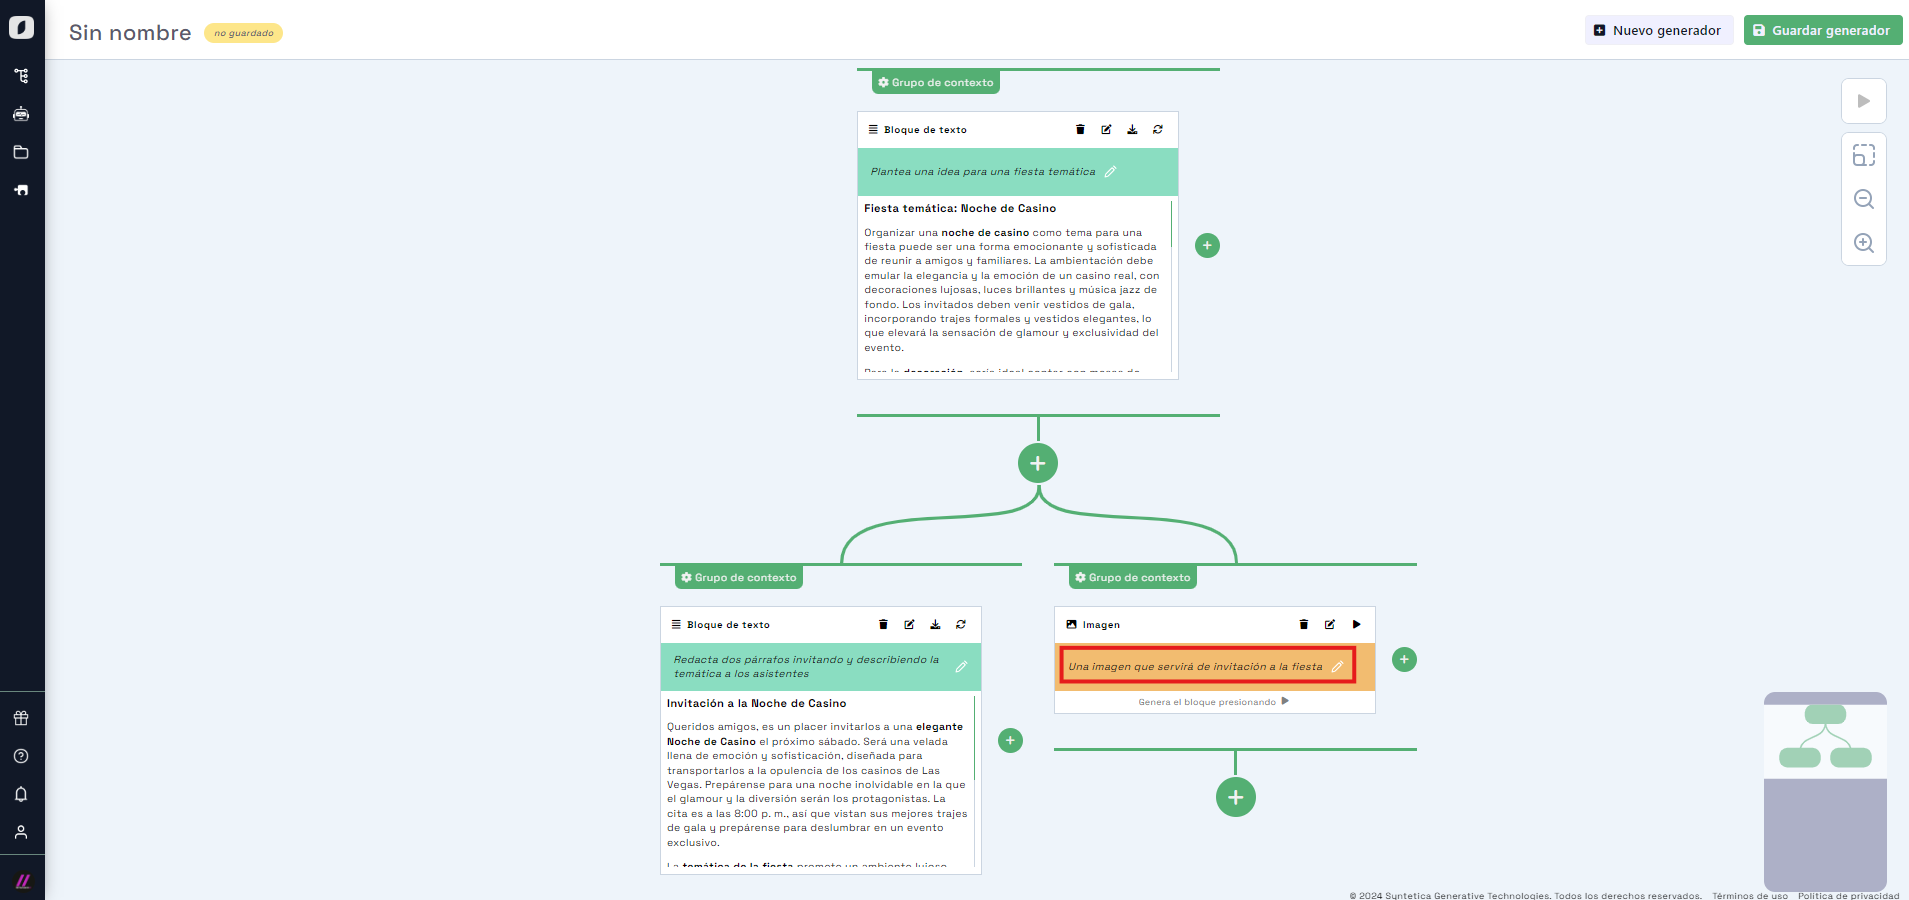
As you can see, adding from the first context group creates a separate branch. This allows you to specialize each branch's content for more specific outputs.
Let’s now add another block to the first branch. Hover over the second group to show the option to add more blocks, allowing you to generate various content types for the same context.
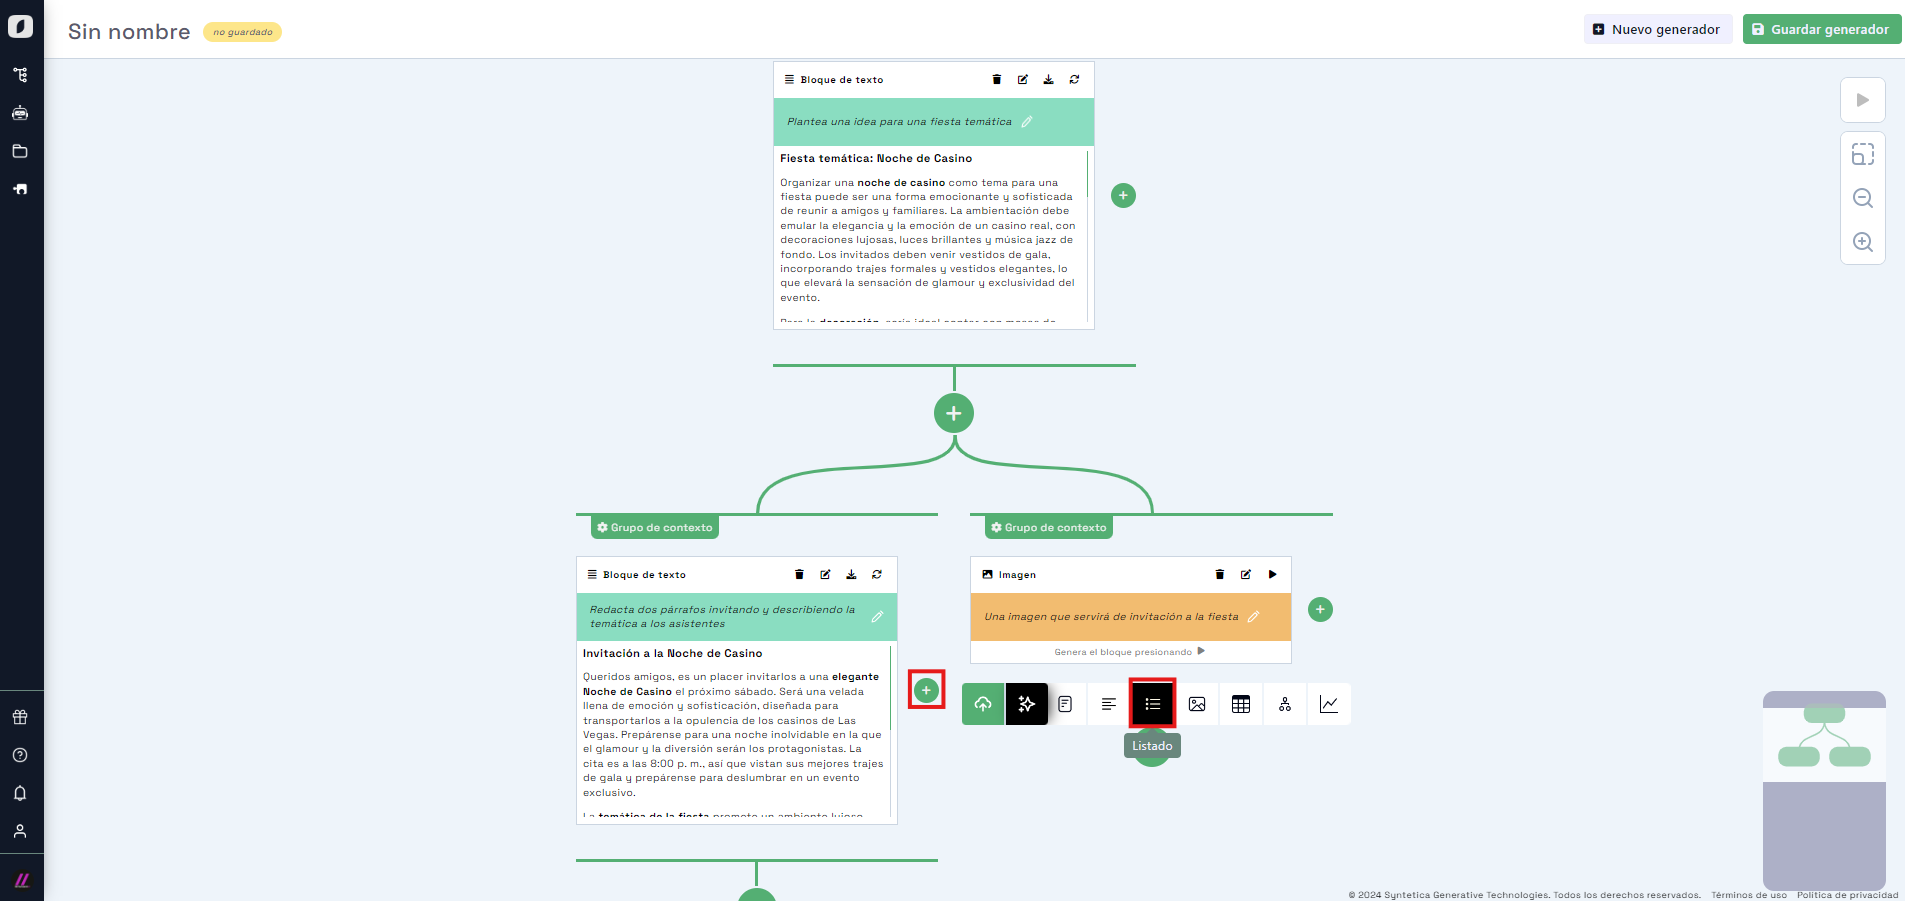 Interface for choosing a 'list' block within the second context group.
Click the small "+" icon that appears in the group. A selection dialog will appear — choose "List" and use the prompt "5 costume ideas". Add it and click "play" to generate it. You’ll get five items.
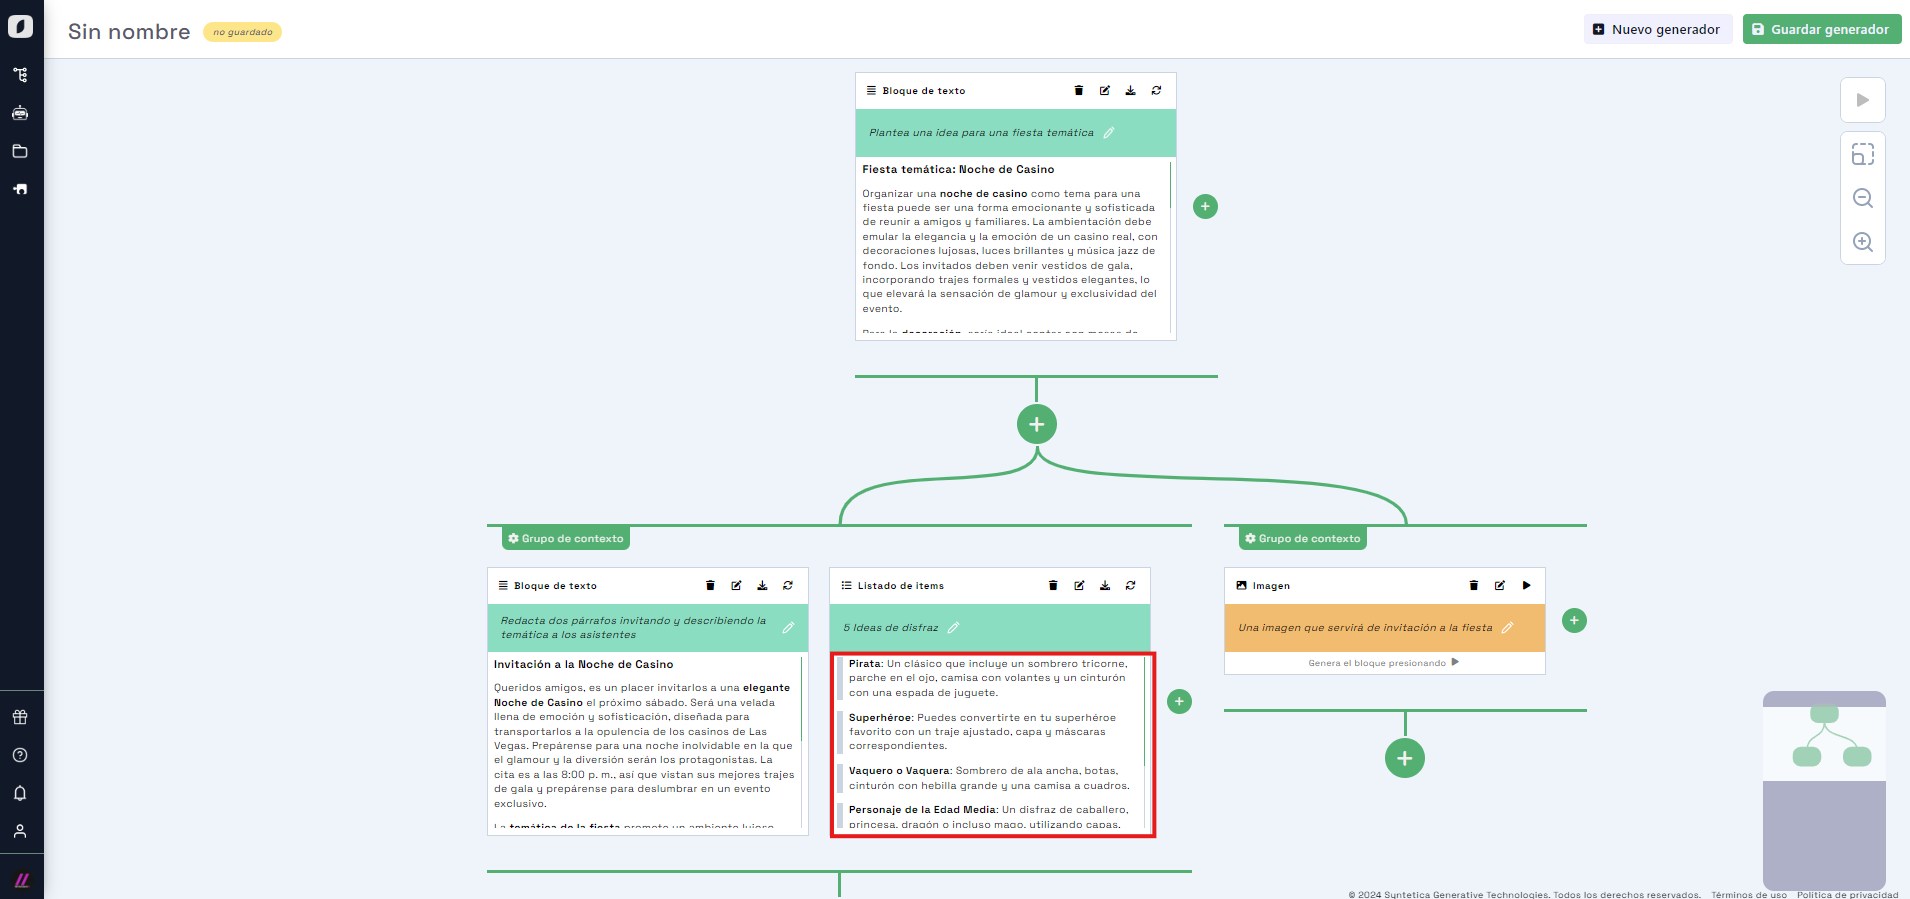 Screen showing the list with five generated items.
Since the list is a "repeater", the next context group will allow configuration for generating multiple outputs. We’ll use this to elaborate on each costume idea. Click the "+" button on the second group, add a text block with the prompt "Describe the costume in two paragraphs".
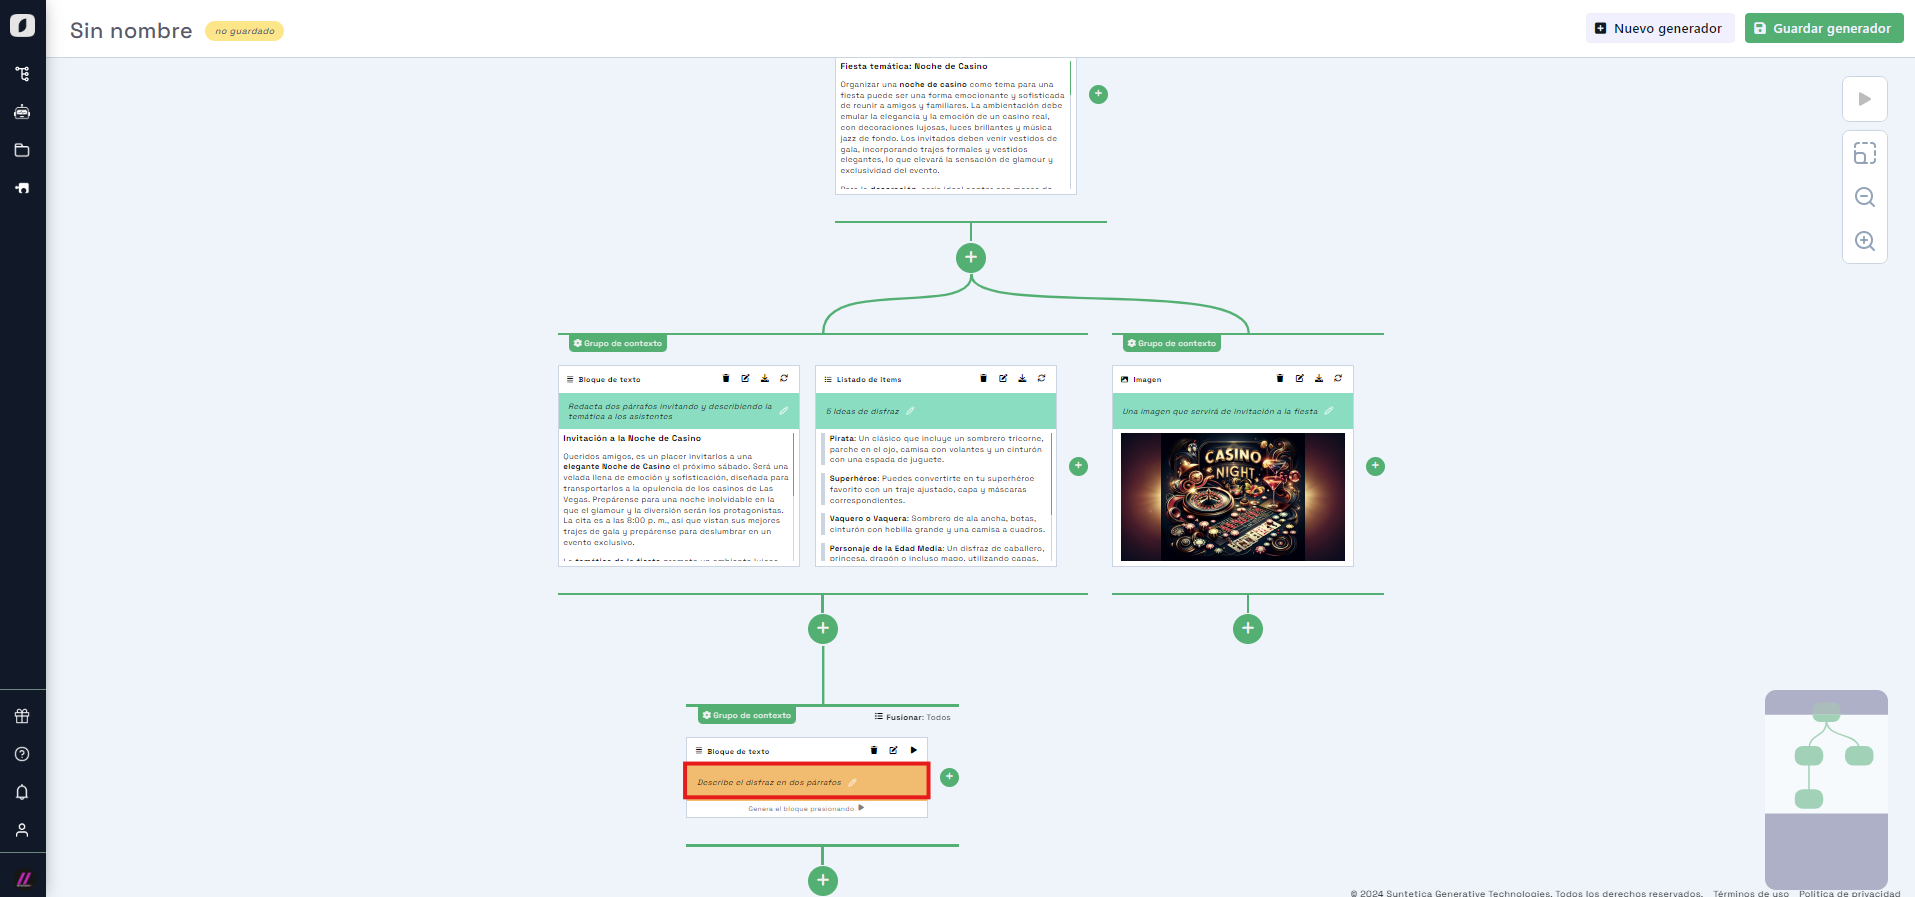
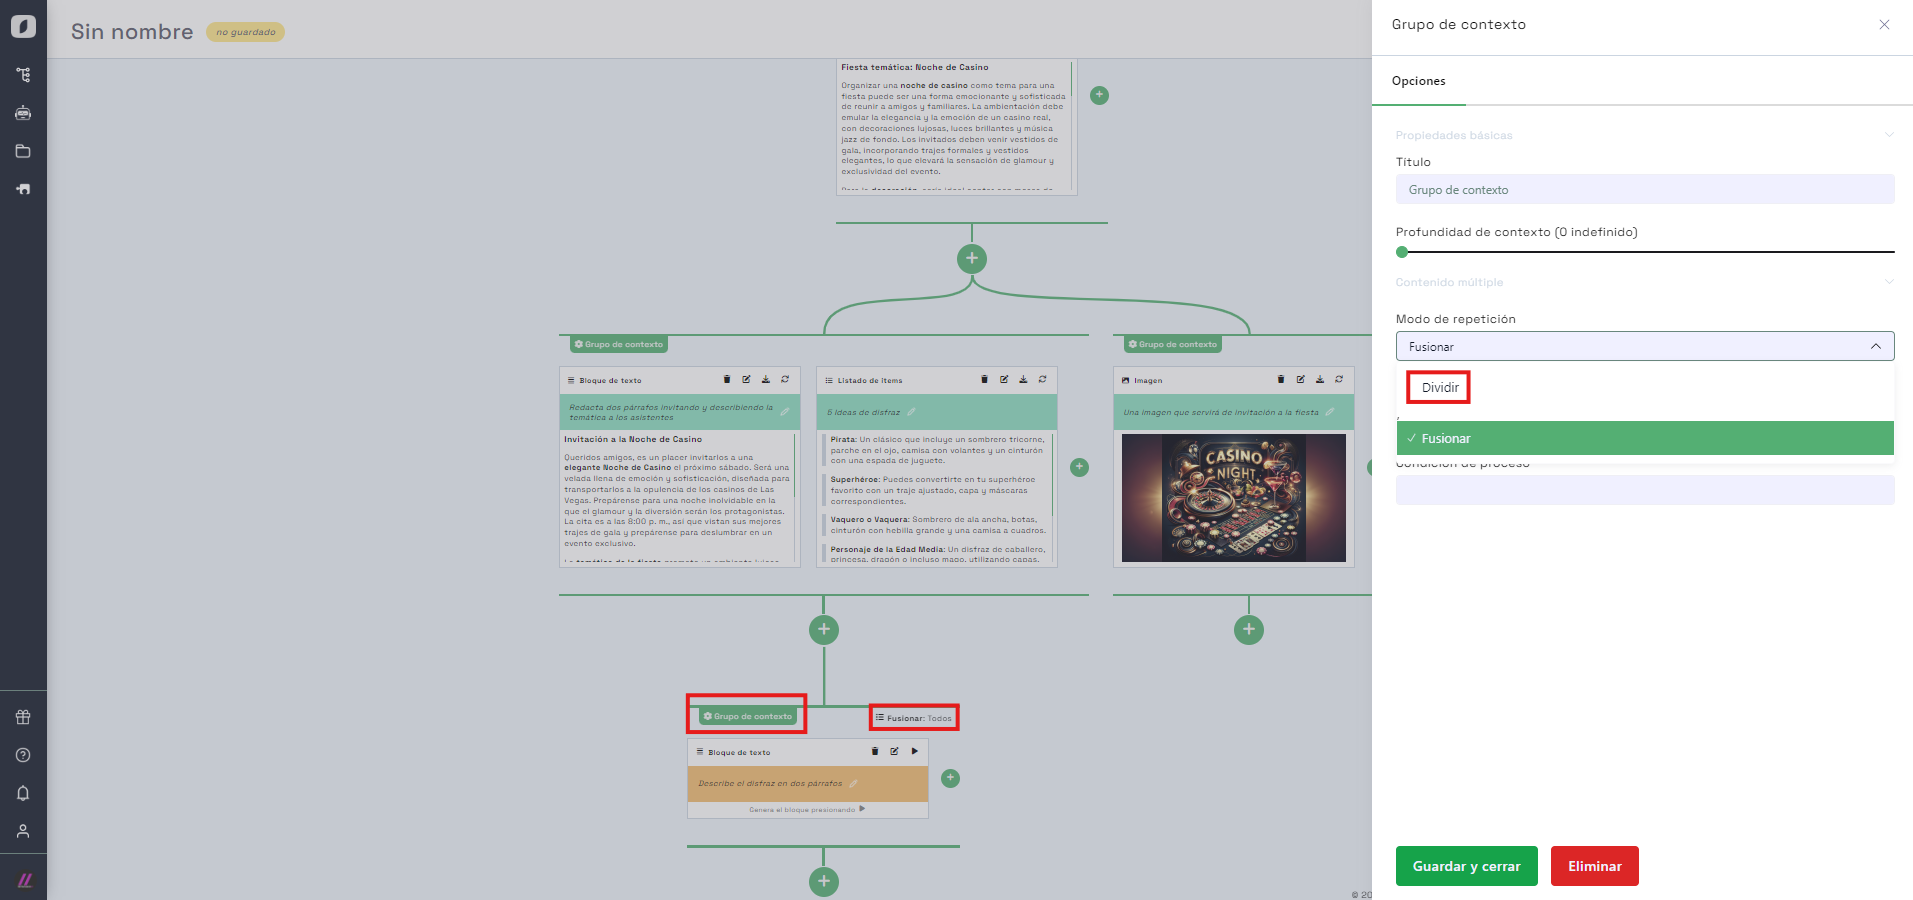
The new context group will show a top-center option saying "Merge: All", because multiple output generation is off by default. Click the text or the group’s options icon and enable multiple output generation with no filter.
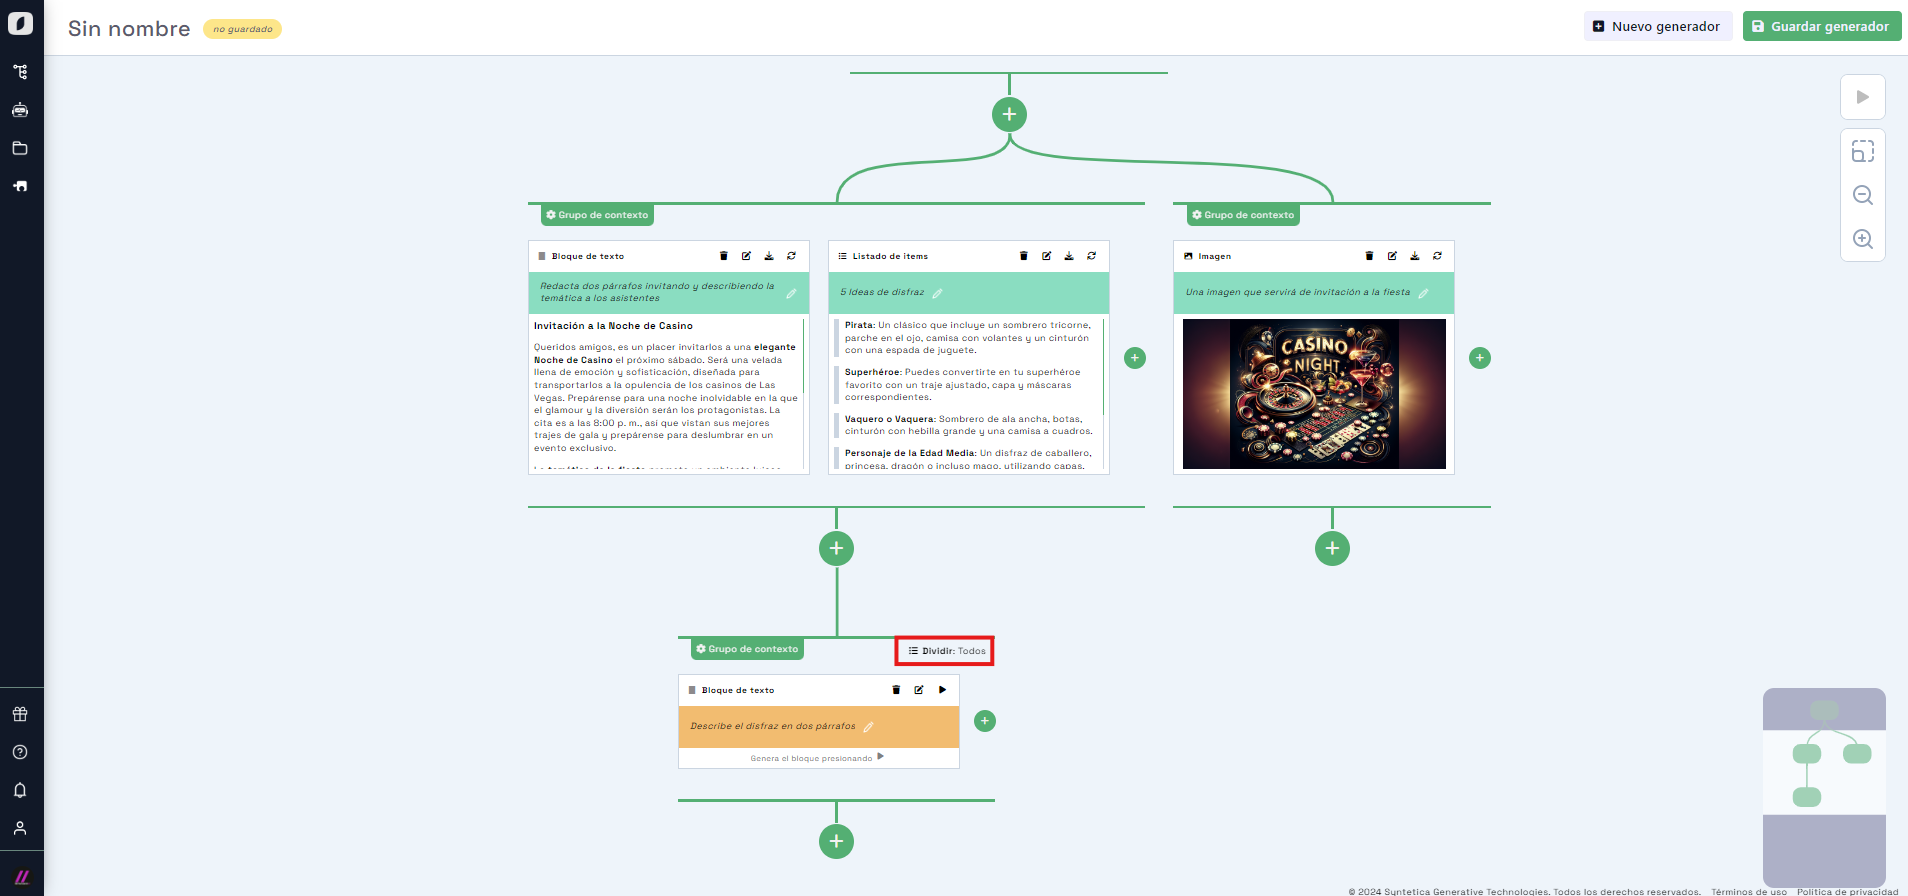
After this, click the "play" button on the newly added block. Since it's in a group configured for multiple outputs, it will generate a separate text for each item in the upper repeater. Each will be accessible via a tab that highlights the related repeater item when selected.
 View showing tabs to access generated texts.
Consolidate everything into a Word document
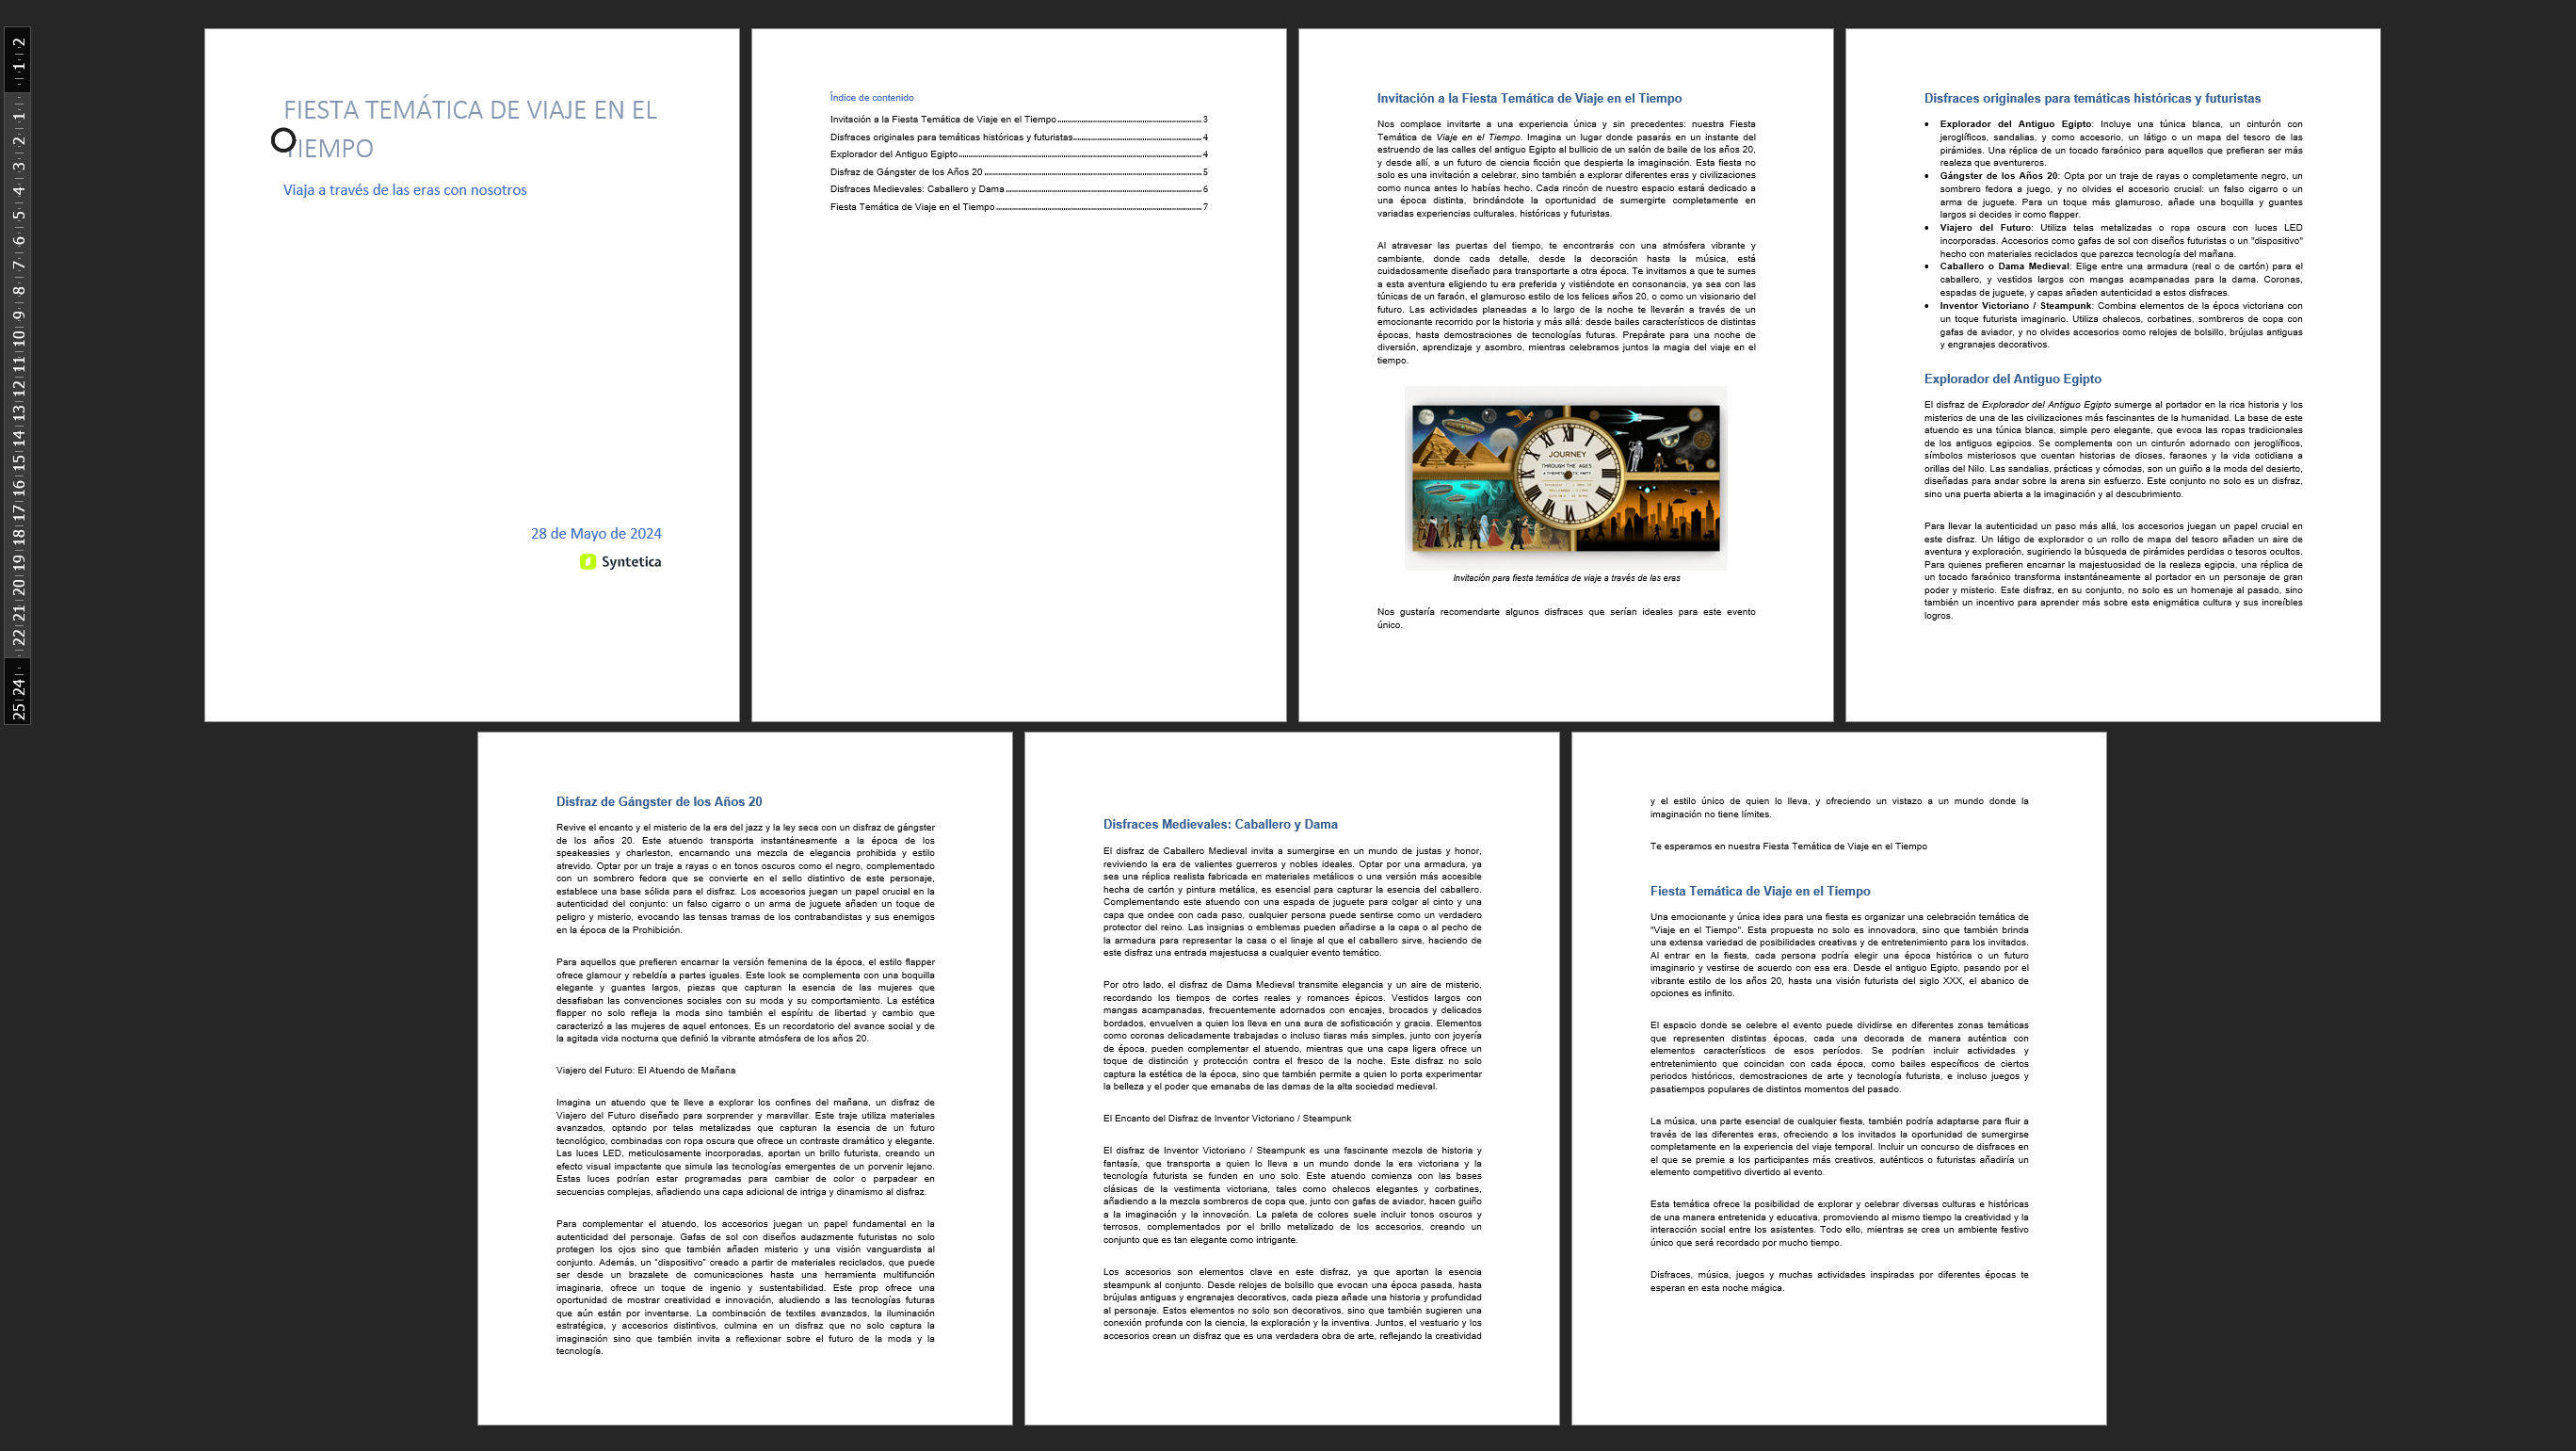
To finish, we’ll consolidate everything into a "Word" document titled "Party Invitation" to send to our friends. Derive a context group from any terminal end of the generator and enable "Inherit from all branches", so the new branch gets data from all blocks. Then, select the block type "File" and configure the title and document type.
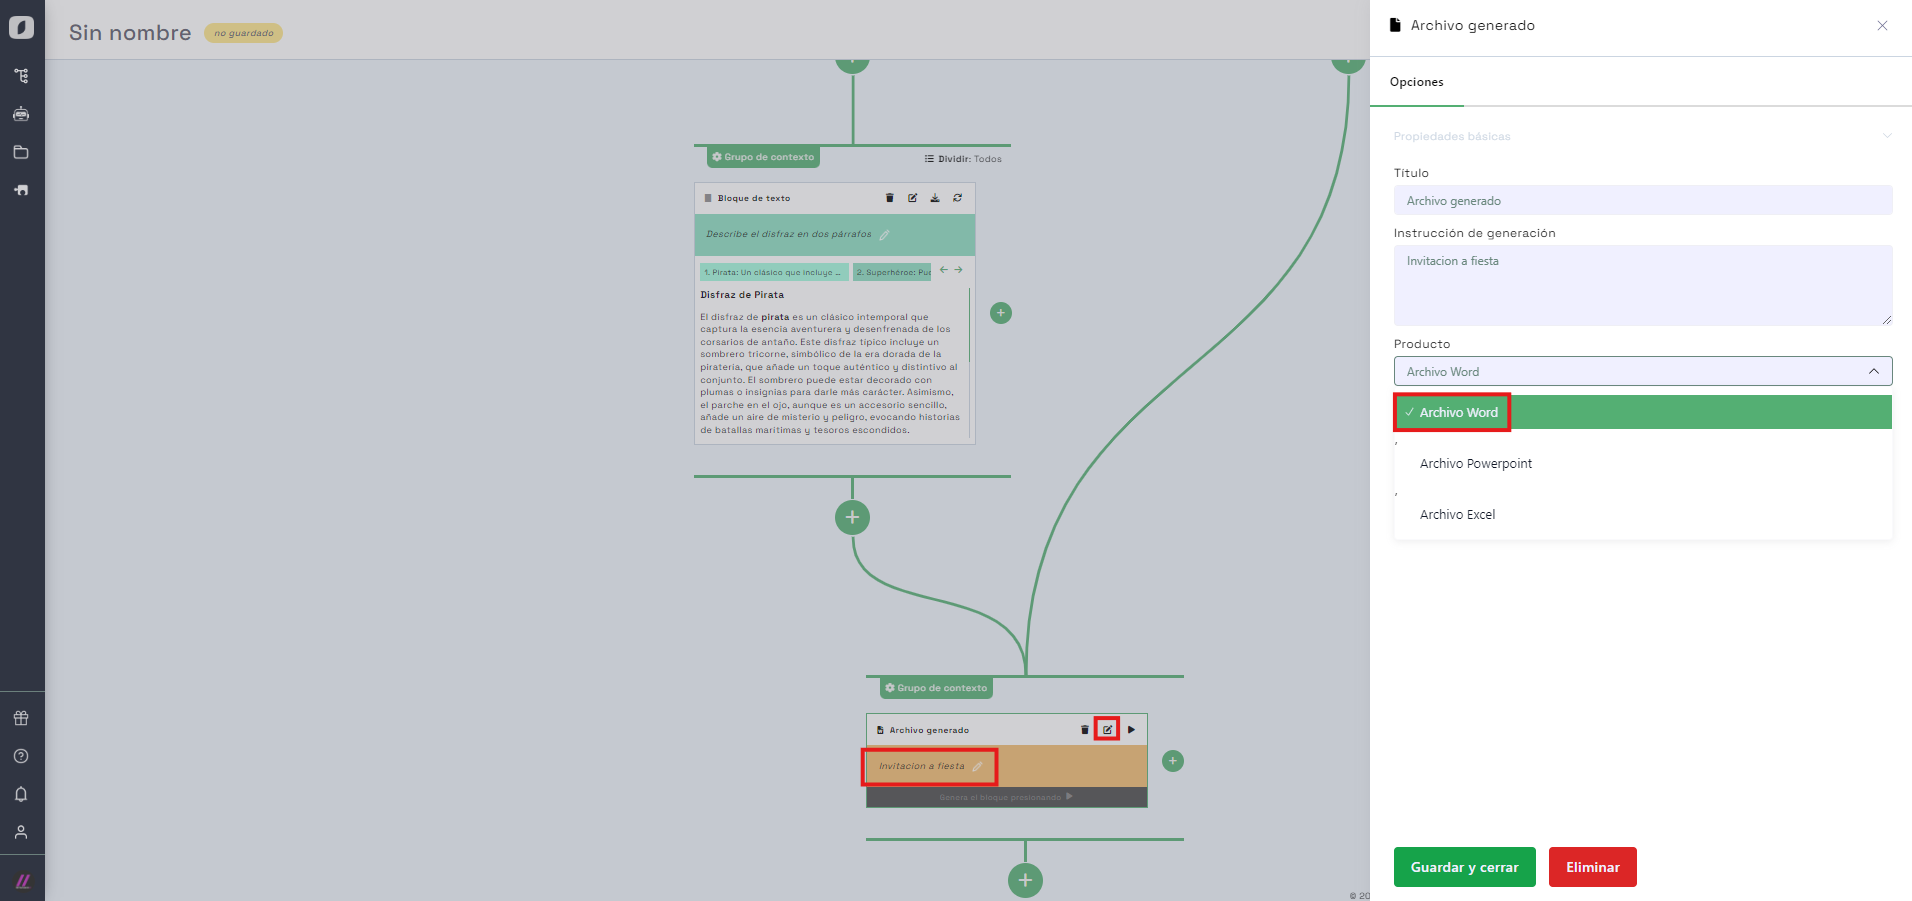
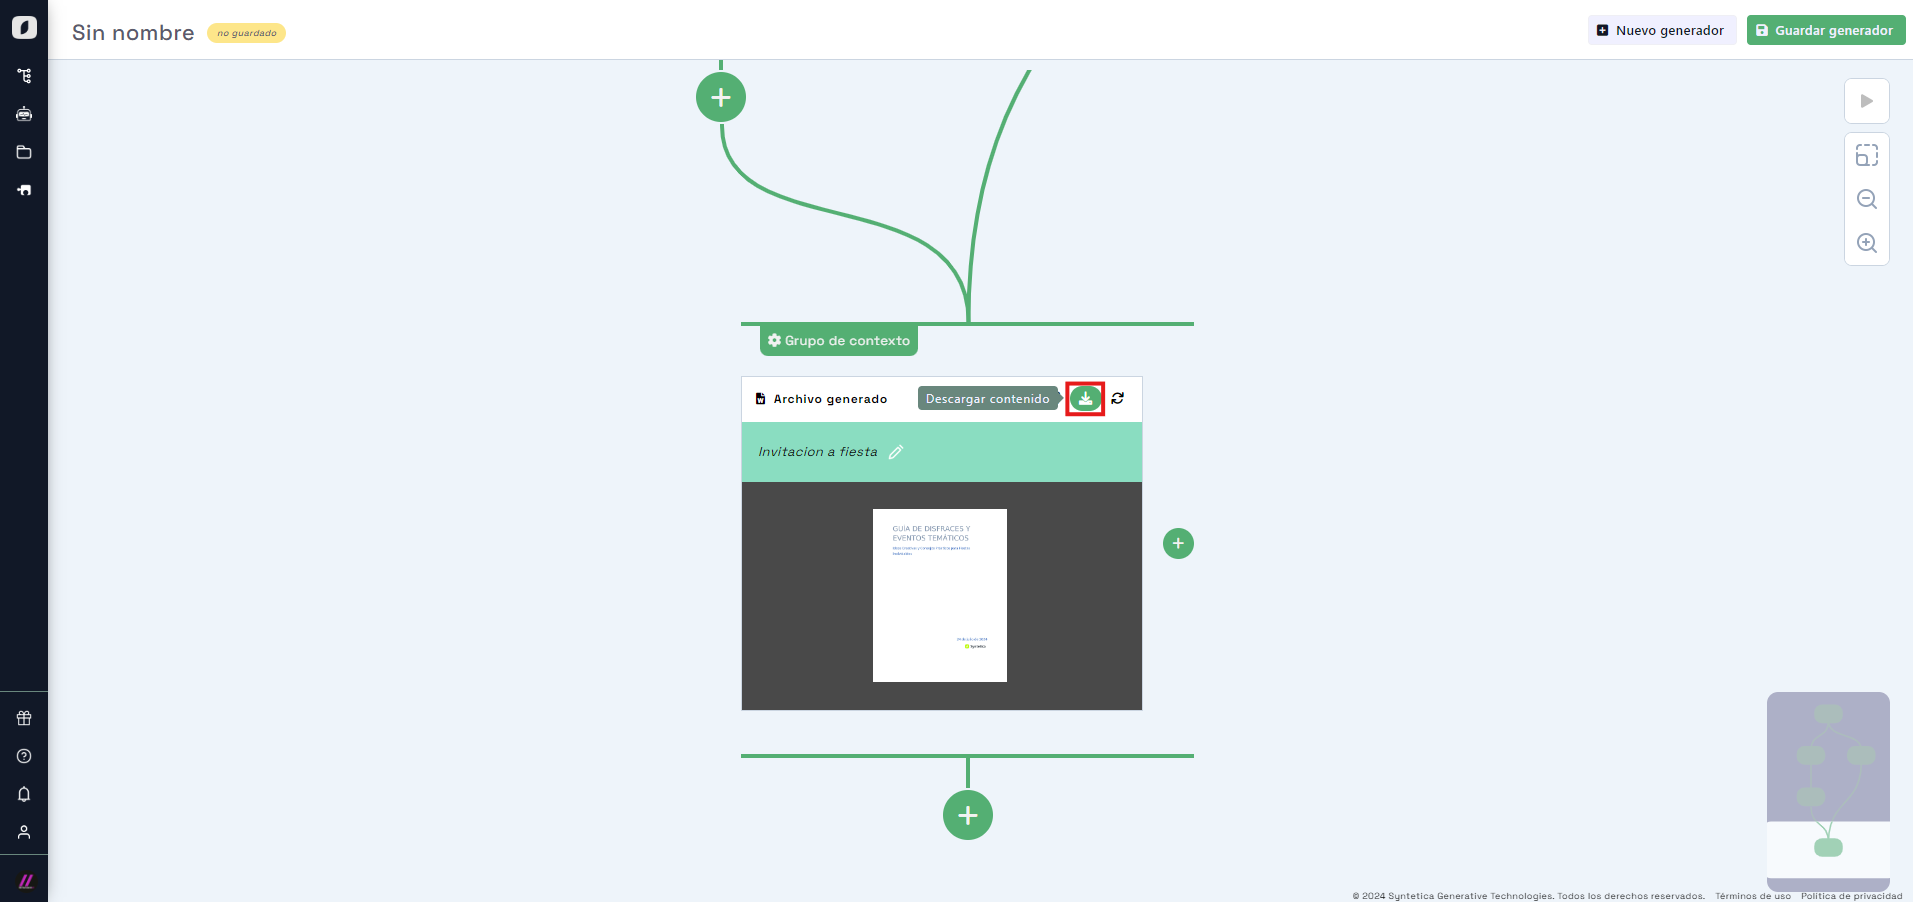
Click the "play" button on the file block to generate it. When done, the Word document will be ready for download.
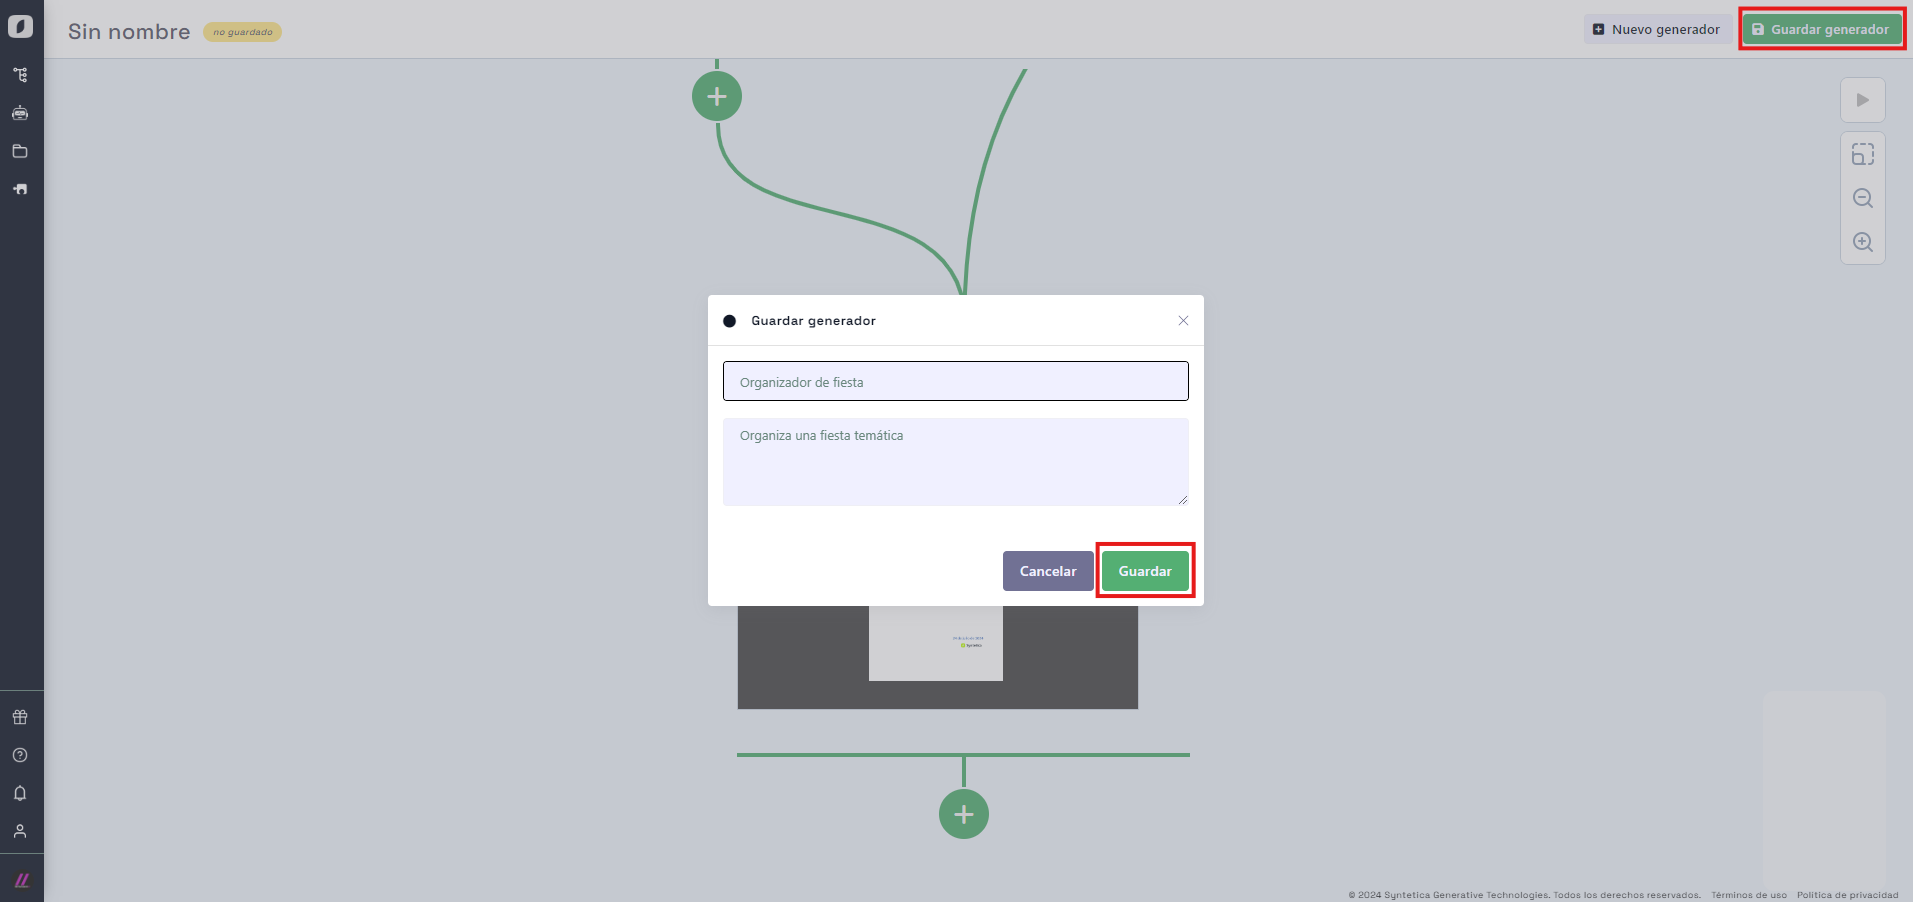
Save and reuse the app
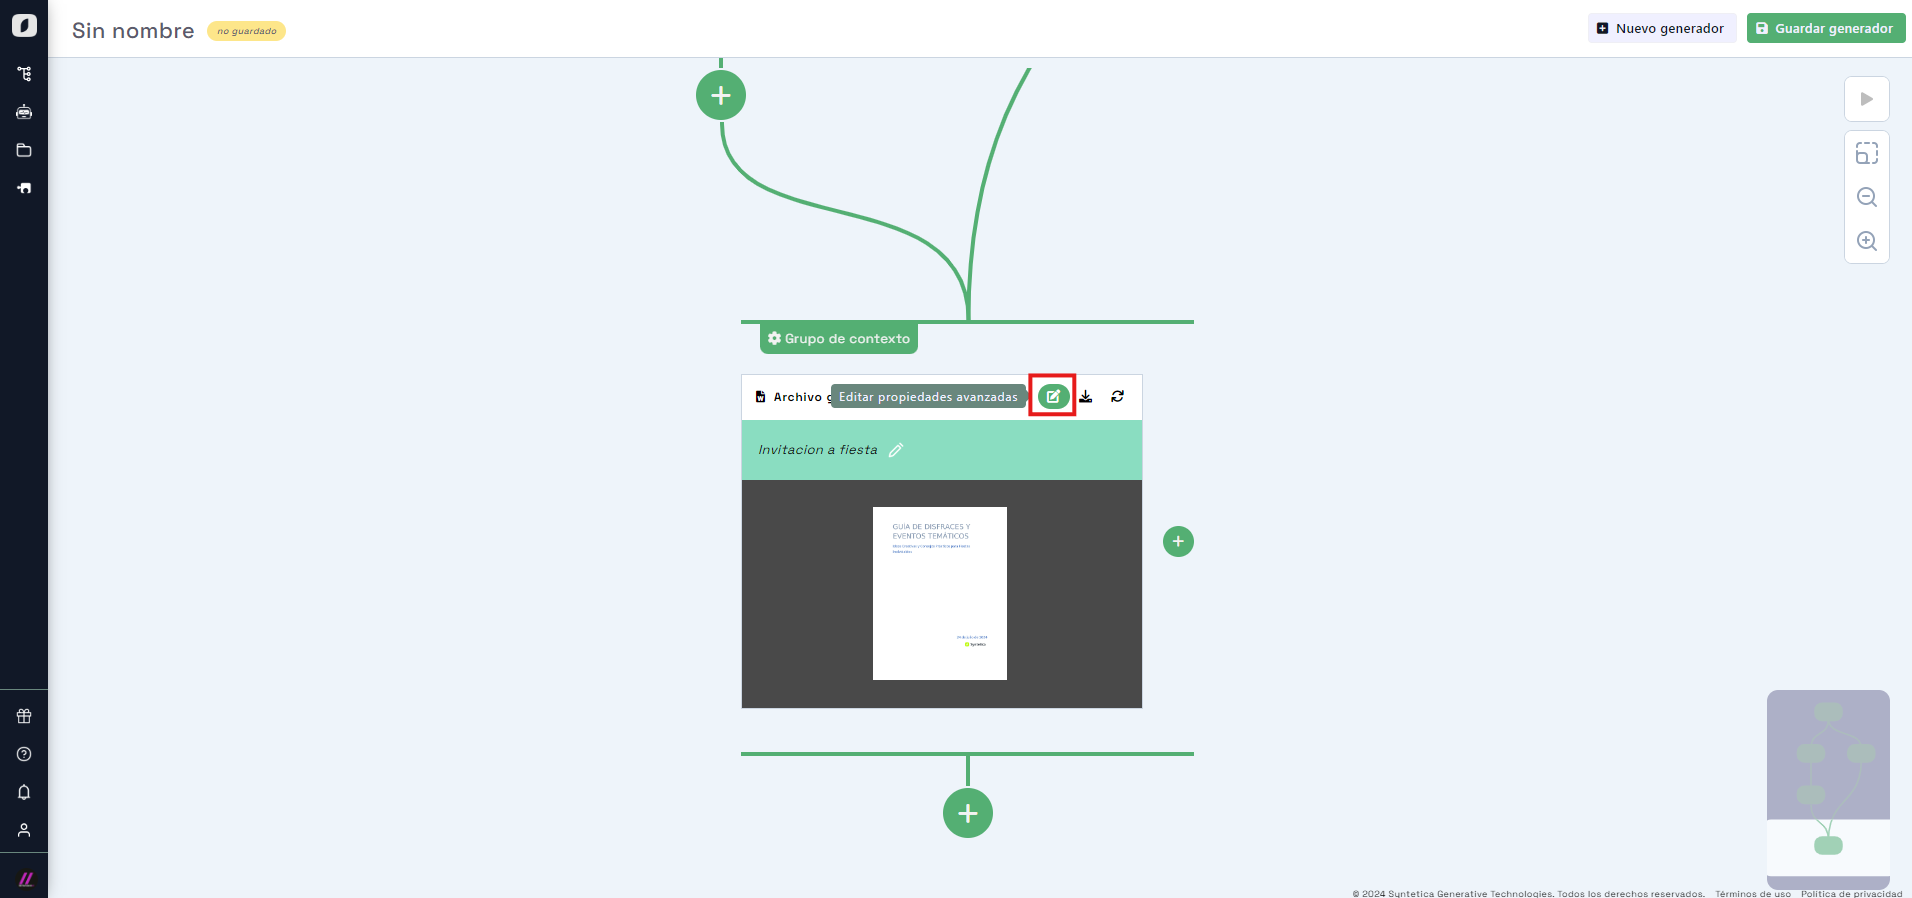
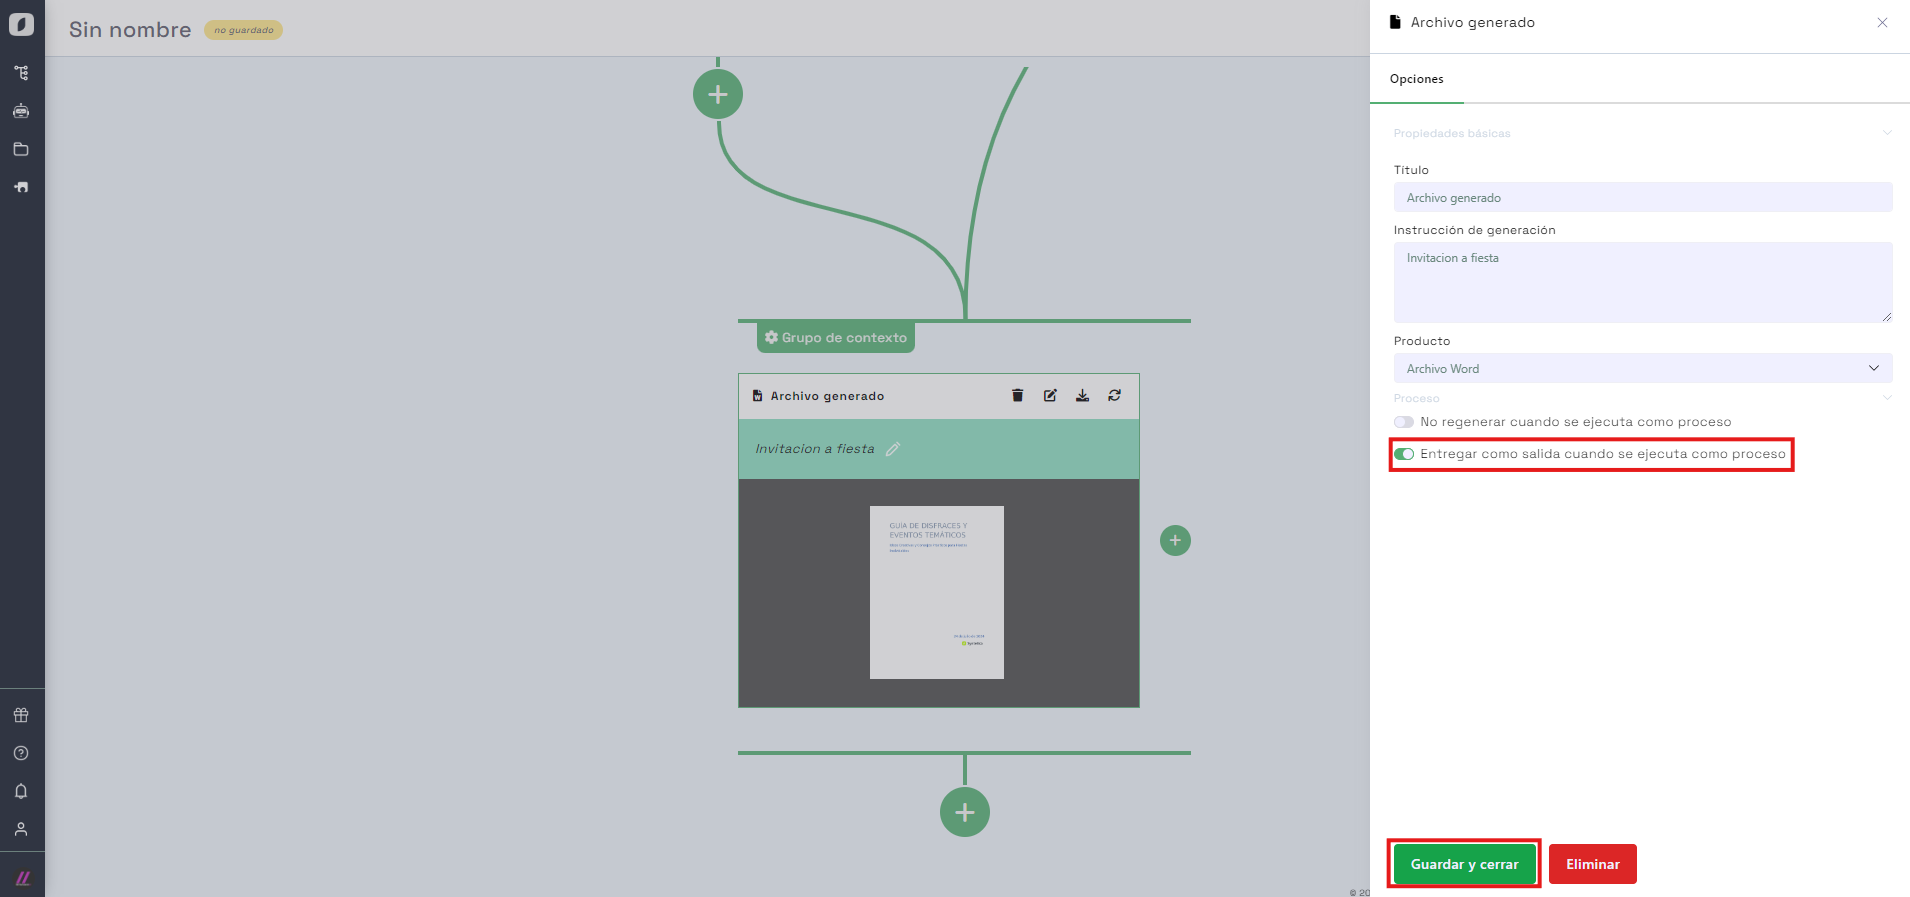
Lastly, if we want to organize another themed party in the future, we can save this app for reuse. You can even mark the file as "Deliver as output" to designate it as the final output of the generation process, without needing to reopen it.
And just like that, from the app explorer, you can run it asynchronously using the "Use app" button and receive the generated Word file as output. If you provide an email address, the generated file will be automatically sent to the specified emails.