Ready-to-use AI Apps
Easily manage evaluation processes and produce documents in different formats.
Organization Management
In this article, you will learn how to manage organizations on the platform. Organization management includes viewing the organizations you belong to, leaving an organization, adding new members, removing members, assigning admin roles, and managing user groups.
View the Organizations You Belong To
To view the organizations you belong to, go to the "User Profile" section. Here, you will find a list of all the organizations you are affiliated with. This list is useful for giving you a clear overview of your participation in different organizations within the platform.
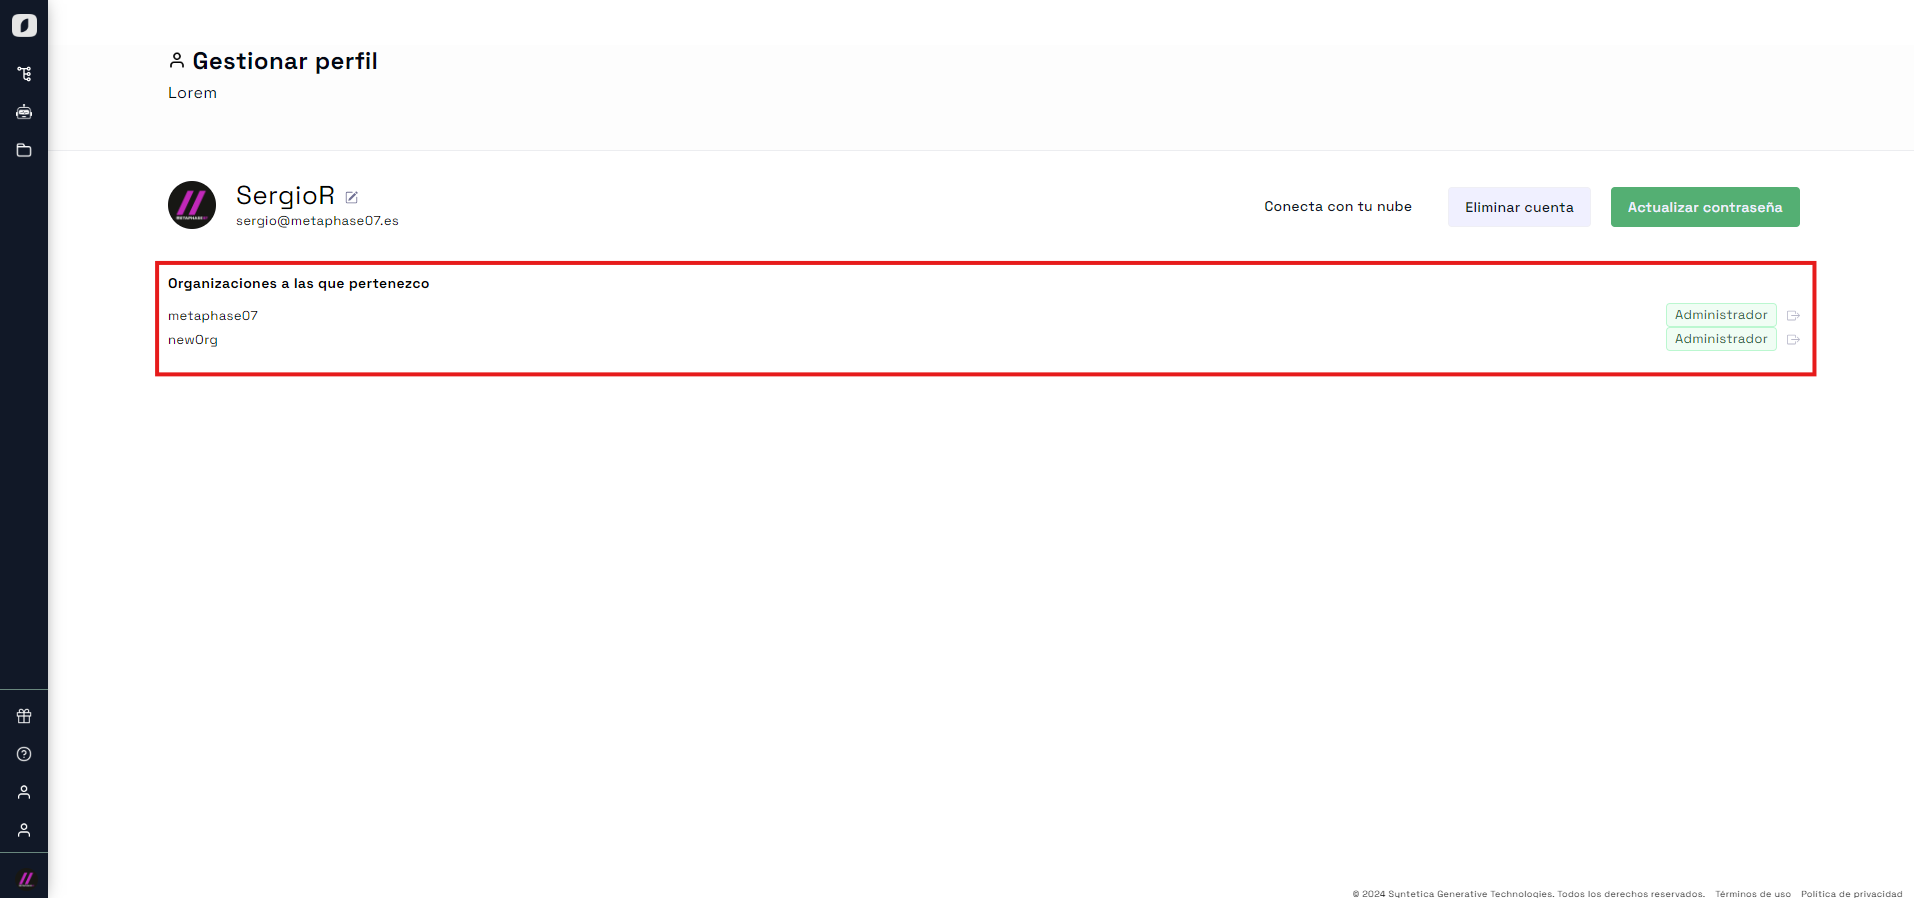 Profile Management View
It is important to keep your affiliations organized so you can properly manage your relationships and responsibilities within the platform.
Leave an Organization
If you decide to leave an organization, you can easily do so from the "Manage Profile" section. Simply click on the icon next to the organization you want to leave. Remember that you cannot leave your default organization; you must always belong to at least one organization. You also cannot leave an organization where you are an admin.
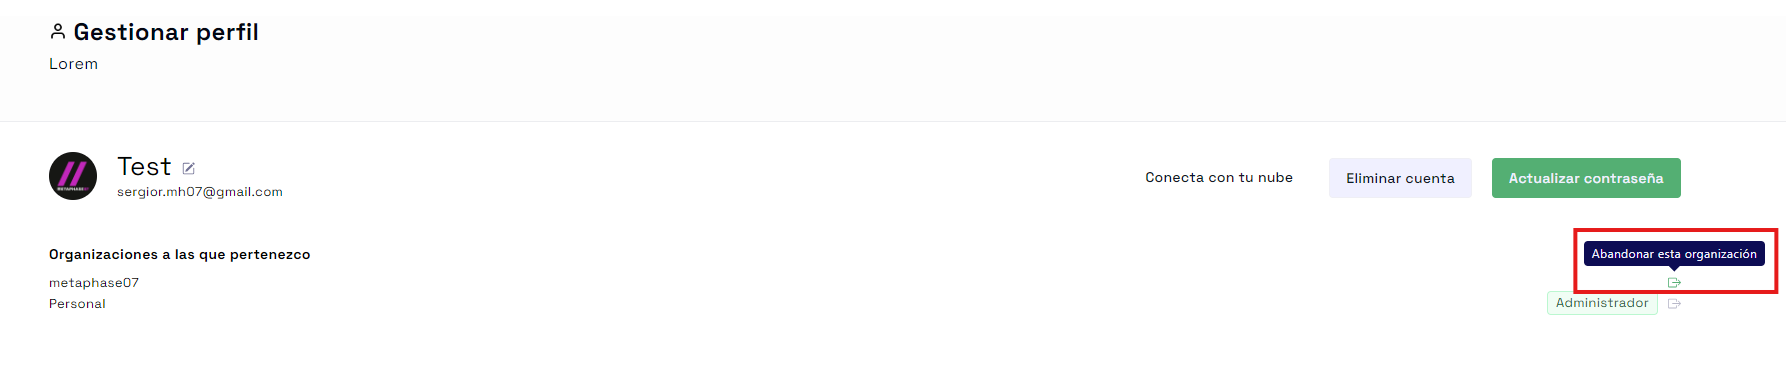 Icon to leave an organization
Note: Make sure you have transferred all your responsibilities before leaving an organization to avoid inconveniences for other members.
Add a New Member to the Organization
To add a new member to your organization, go to the "Manage Account" section. From here, access the three-dot menu for managing organization members via the "Organization Members" control.
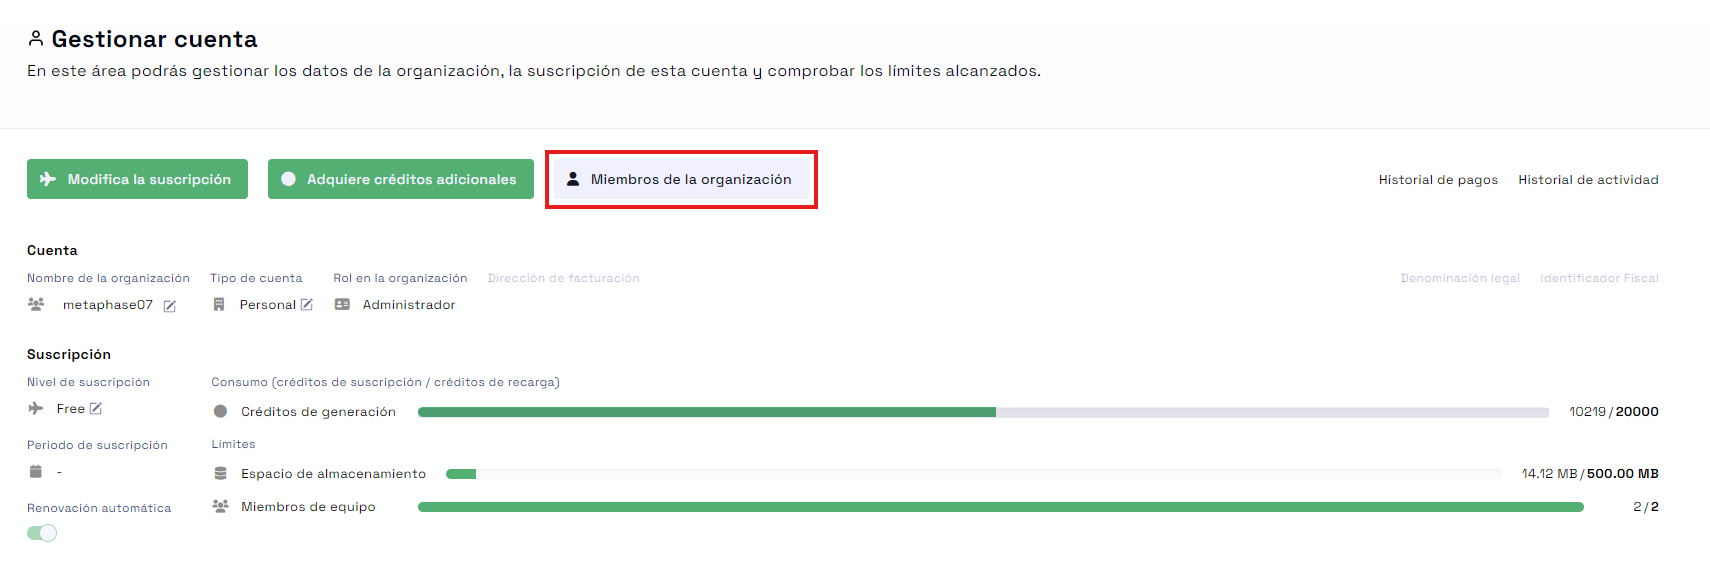 Access to organization member management
Click on "Invite Your Team" and enter the new member's name and email address. This action will send an invitation to the new member to join the organization.
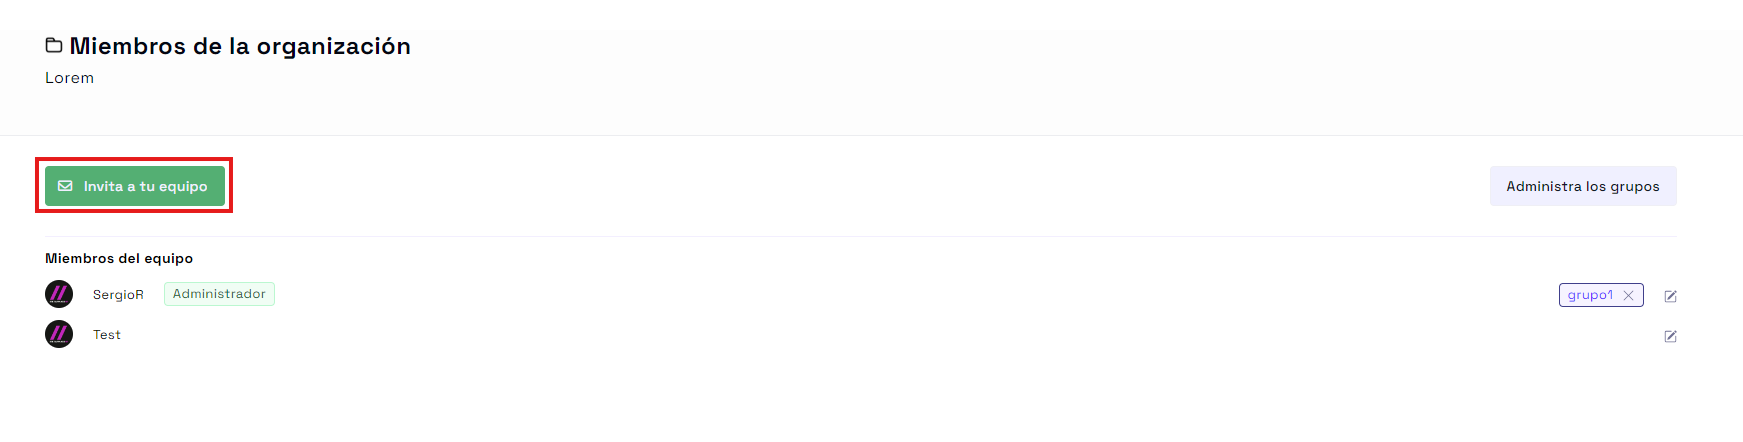 Invite new member to the team
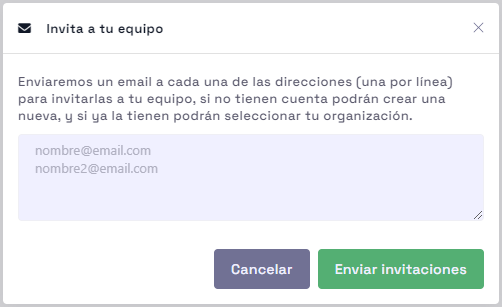 New user invitation form
Adding new members can help strengthen your team and better distribute tasks and responsibilities.
Remove a Member from the Organization
If you need to remove a member from your organization, go to the "Manage Account" section, access "Organization Members", select the member in question, and click the edit icon. In the dropdown menu, select "Remove from Organization" to remove the member.
 Dialog to remove a member
Note: Consider reaching out to the member before removing them to avoid misunderstandings and maintain a good professional relationship.
Assign Admin Roles
Assigning admin roles is crucial for efficiently managing your organization. To do so, select the edit icon of a member, and in the menu that appears, click on "Make Admin." This member will now have additional permissions to assist in managing the organization.
 Assigning admin role dialog
To revoke admin permissions, repeat the process and select "Revoke Admin Permissions."
 Revoke admin permission
Assign and Unassign Groups to Users
To assign a group to a user, from the "Organization Members" section, select the edit icon of the corresponding member and in the menu that appears, click "Assign to Group." Then, choose the group you want to assign the member to.
 Associate user with a group
To unassign a group, click the "x" next to the group you want to unassign from the user. A pop-up will appear to confirm your action.
 Unassign user from a group
Create and Delete User Groups
Creating user groups is a great way to better organize and manage your team. To create a group, go to the "Manage Account" section and then to "Organization Members". Click on "Manage Groups". Then, select "Add New Group," enter the group name, and save the changes.
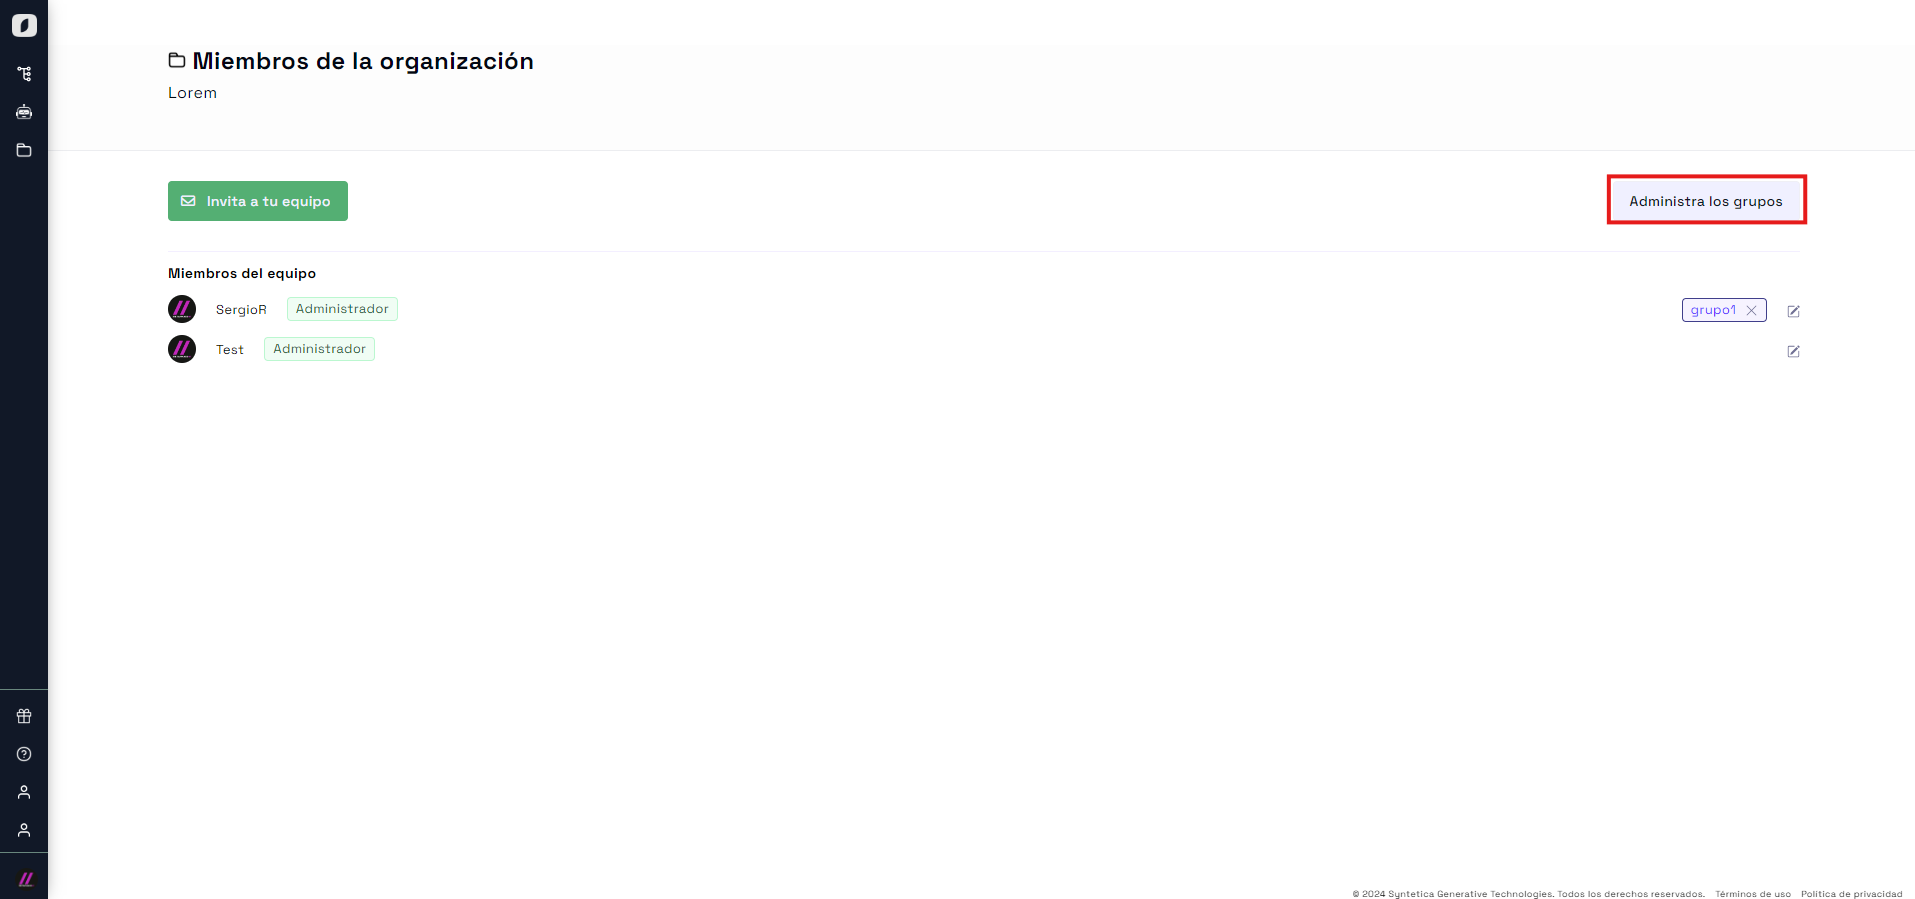 Access control for creating user groups
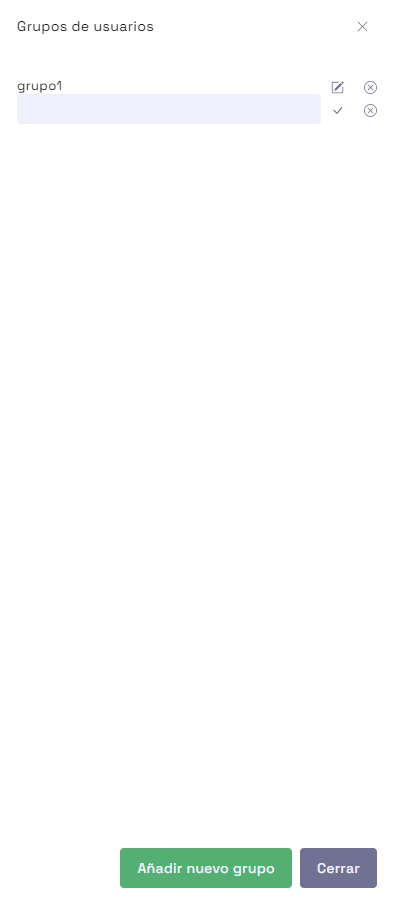 Group creation/editing form
To delete a group, click the "x" to the right of the group's name. A pop-up will appear to confirm your decision. Confirm the action to delete the group.
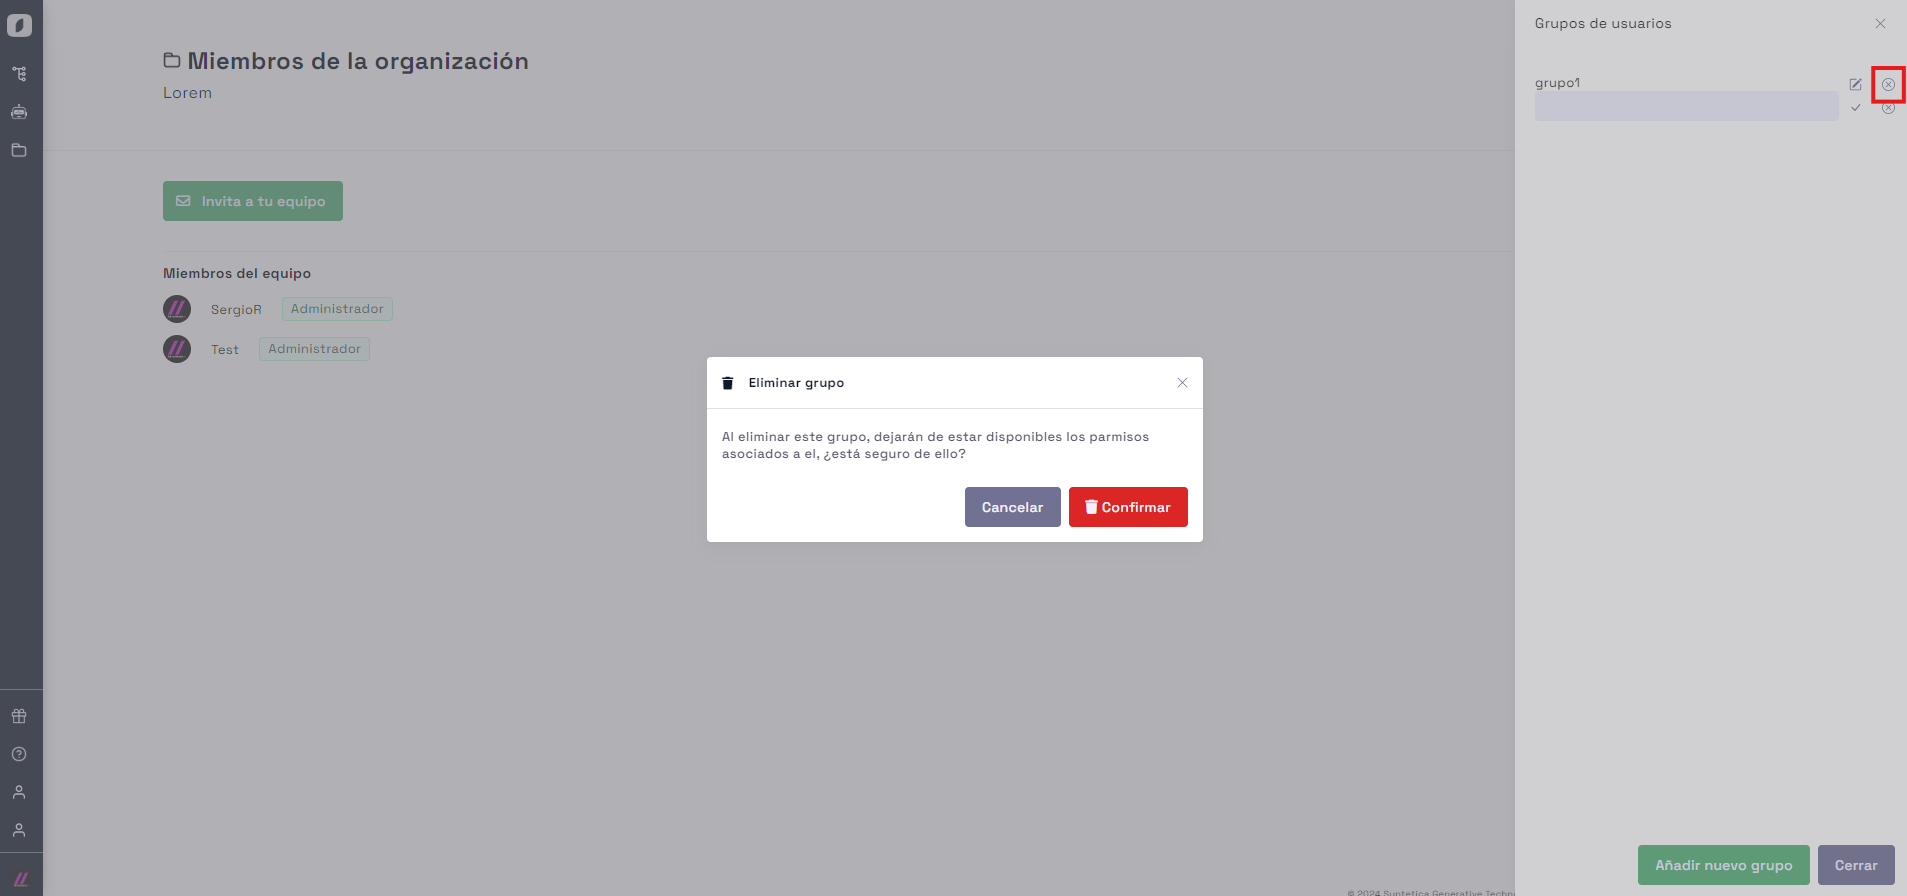 Delete user group
Note: Make sure to reassign group members before deleting the group to avoid confusion and loss of information.
By following these steps, you will be able to effectively manage organizations within the platform, optimizing collaboration and your team's efficiency.