Ready-to-use AI Apps
Easily manage evaluation processes and produce documents in different formats.
Generator Management
Generator management is an essential feature of the platform that allows users to create, configure, run, and delete generators. These generators are powerful tools that can be used to automate tasks and processes within the platform. Below are the steps to effectively manage generators.
Create a New Generator
To create a new generator, first navigate to the "Generators" section from the navigation menu. Once there, you will find the "Create a Generator" option. Clicking on this option will open a new window where you can configure the necessary blocks and context groups for your generator.
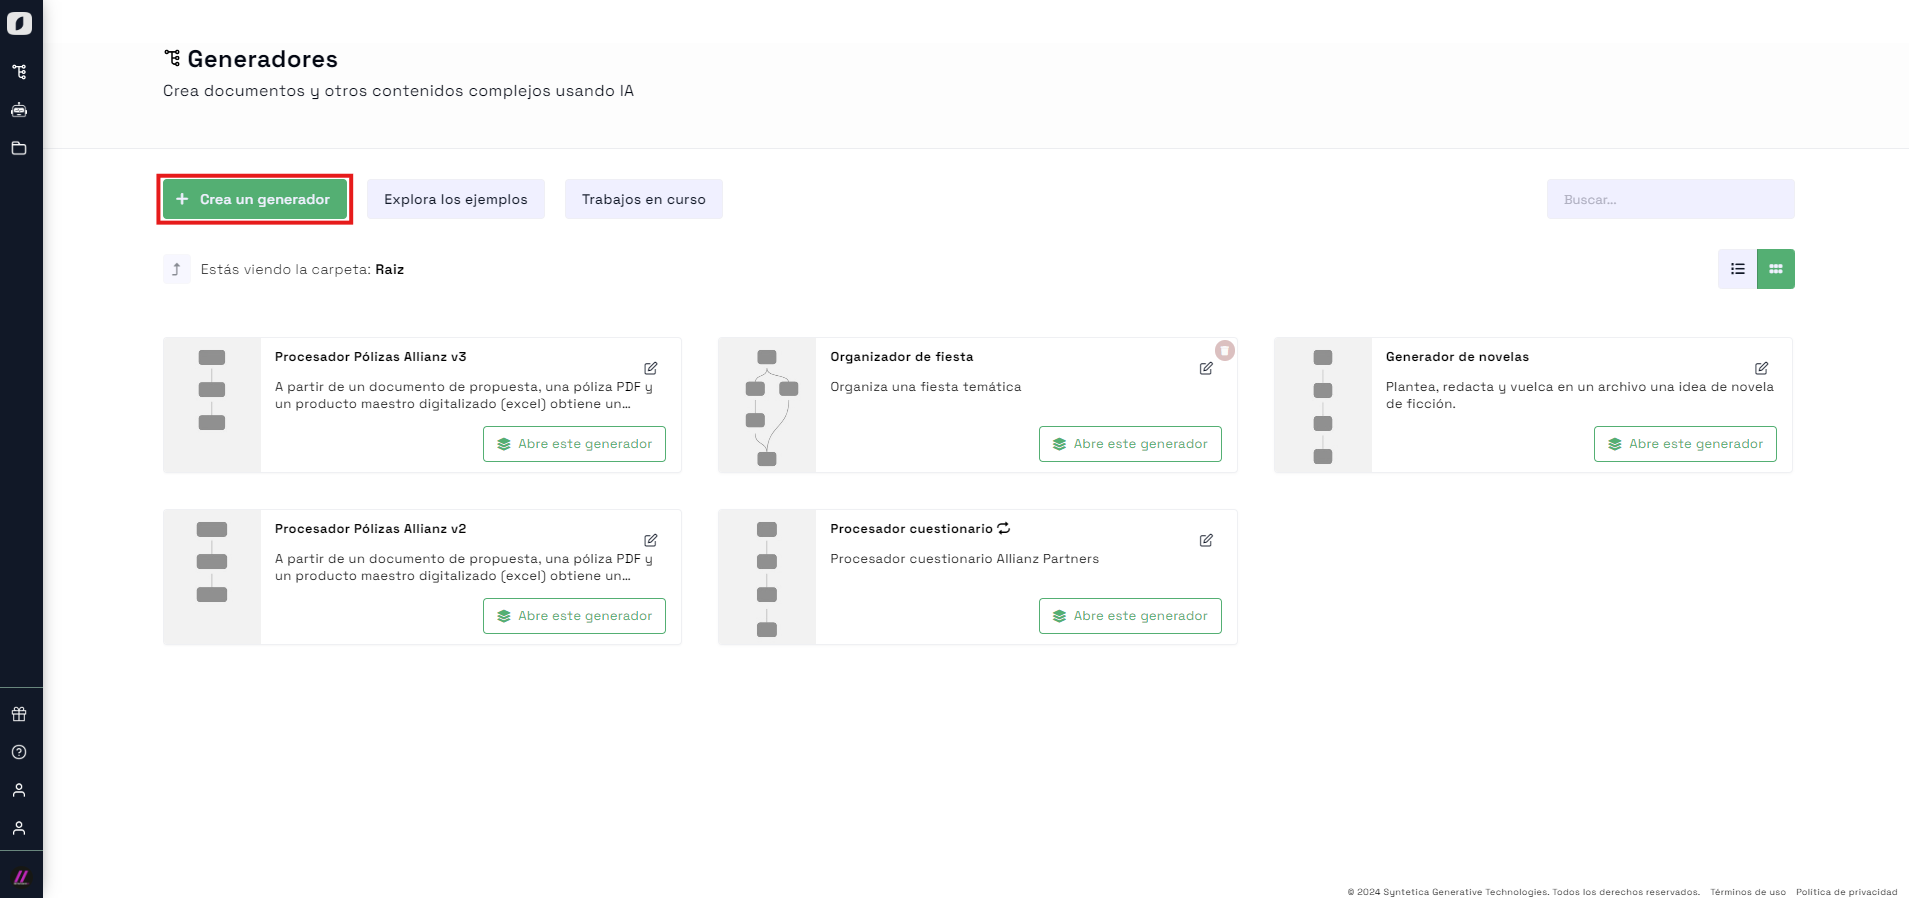 Home screen of the generators section showing the option to create a new generator
Once you access the generator creation tool, you can select the different blocks that your generator will contain. You can start from an external file or generate content using AI directly on text blocks, lists, images, tables, diagrams, and graphs.
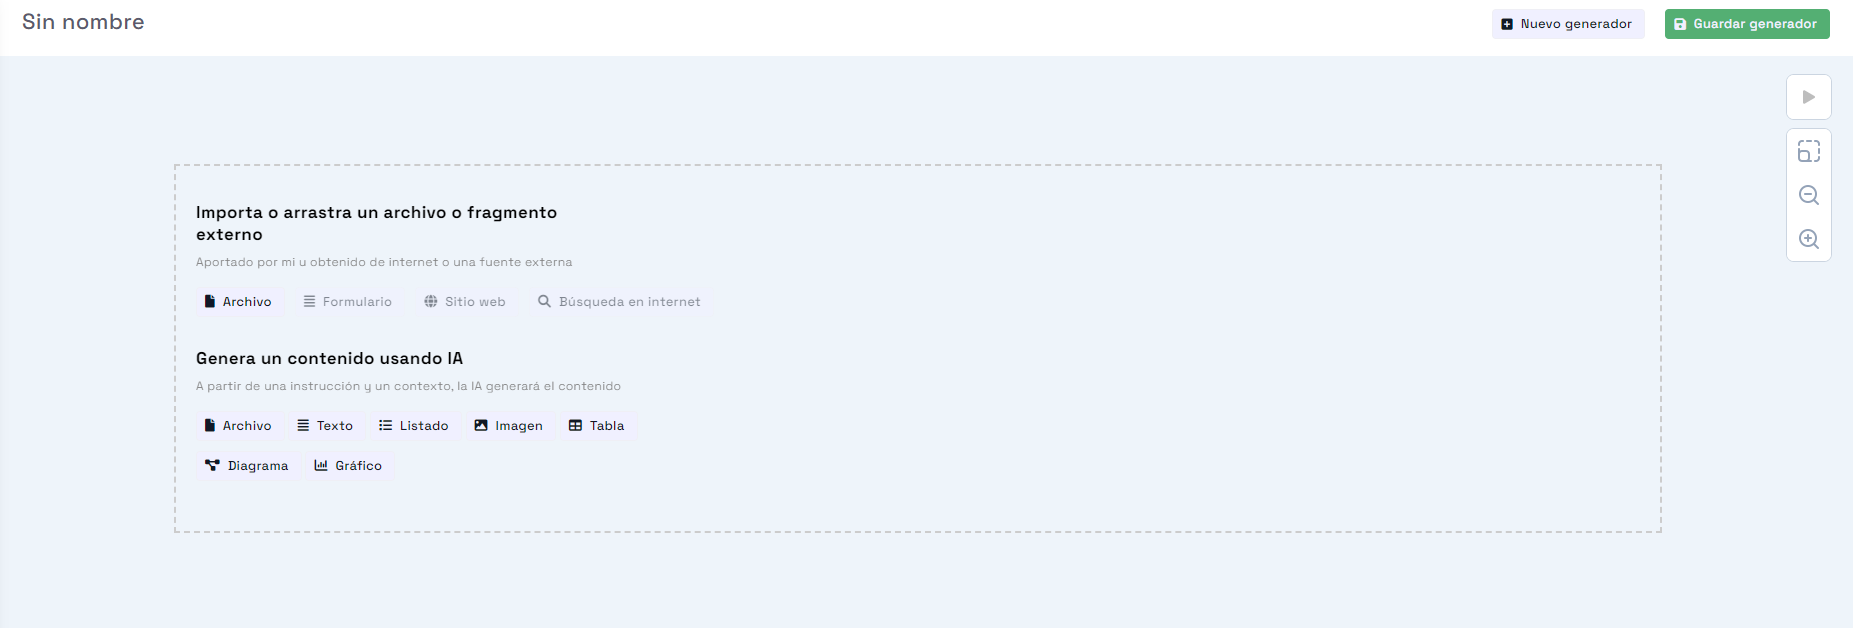 Initial view of the tool. Available types of generation blocks
Blocks are the fundamental building blocks for creating a generator, and they house content that may have been provided from an external source, generated by AI, or prepared to be downloaded and used in an external system.
Input Blocks
Input blocks allow you to gather external data, such as files or websites, and bring them into the generative process so that they are considered in the generation blocks located in its branch.
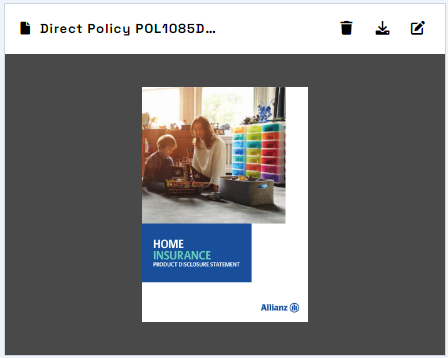 Input block: File
Generation Blocks
Generation blocks allow you to generate formatted content such as text, diagrams, tables, etc. This content will be displayed interactively, so if it's a graph, you can hover over the measurements to get details, and if it's a table, you can sort the columns. This content will be dynamically generated based on the generation instruction provided and the context defined by the preceding blocks in the workflow. Each content type includes customizable options that allow the generation to be tailored to specific needs.
- Text: Generates text composed of several paragraphs. You can specify not only the topic but also the format, length, style, or language (among others). For example, "Write the introduction of the project" or "Generate an idea for a novel in a single paragraph".
- List: Generates a list of individual items, which can later condition the generation of each item (See reeditors). For example, "List the employees mentioned in the report" or "Generate four business ideas".
- Table: Generates a table sortable by headers, where columns and rows can be specified for more precision. For example, "Detailed budget" or "Employee table, with a row for each worker and the columns: name, time worked, start date, end date".
- Diagram: Generates a diagram, which can be of different types depending on the generation instruction. For example, "Draw the hierarchy of workers" or "A concept map on the topics covered".
- Chart: Generates a data chart, which can be of different types depending on the generation instruction (bar, line, pie, etc.). For example, "Revenue trend over the last six months" or "Number of hours worked by each employee".
- Image: Generates a 2D image. For example, "Generate a logo proposal for the company" or "A web design for the store".
These blocks receive a generation instruction (a prompt), and by being placed in a context group, they will take into account all blocks in preceding groups for content generation, unless otherwise specified in the group's options (See "context depth").
Thus, if generation block "B" is located in a context group below another group that contains block "A", block "B" will consider the content of "A" to generate its content. For example, if block A has the instruction "Generate a business idea," and it generates the proposal "An e-commerce website selling dietary supplements," block B will be aware of this proposal to generate its content. So if block B's instruction is "Generate a description of the company," it will generate a description for an e-commerce website selling dietary supplements.
Output Blocks
Output blocks allow you to group and consolidate the generated content into output files, such as Word, Excel, or PowerPoint files. These blocks only require the file title to determine the organization of their contents.
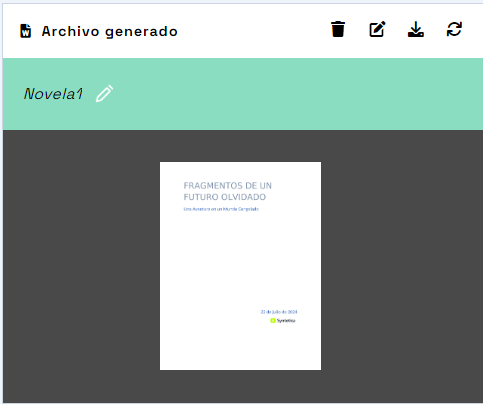 Output block: File
- Office File: Generates, using the provided content, a Word (.docx), PowerPoint (.pptx), or Excel (.xlsx) file. The file name and provided contents through the context define the generation instruction.
Block Controls
In the top-right corner of each block is the control area with buttons to manage the block's generation.
 Block controls
- Edit Properties: Opens a dialog with two tabs. The first tab allows you to edit the block's properties, such as the title, the generation instruction, or how the block behaves when executed as a process. The second tab lets you view previous versions of the block's content and restore them.
 Block property edit form
-
Select Content: Opens a dialog allowing you to select a local file or from one of the cloud services integrated with your account.
-
Send Content: Sends the content to the tool to be processed and made available for other blocks.
-
Generate/Regenerate: Generates the content based on the generation instruction and other properties of the block.
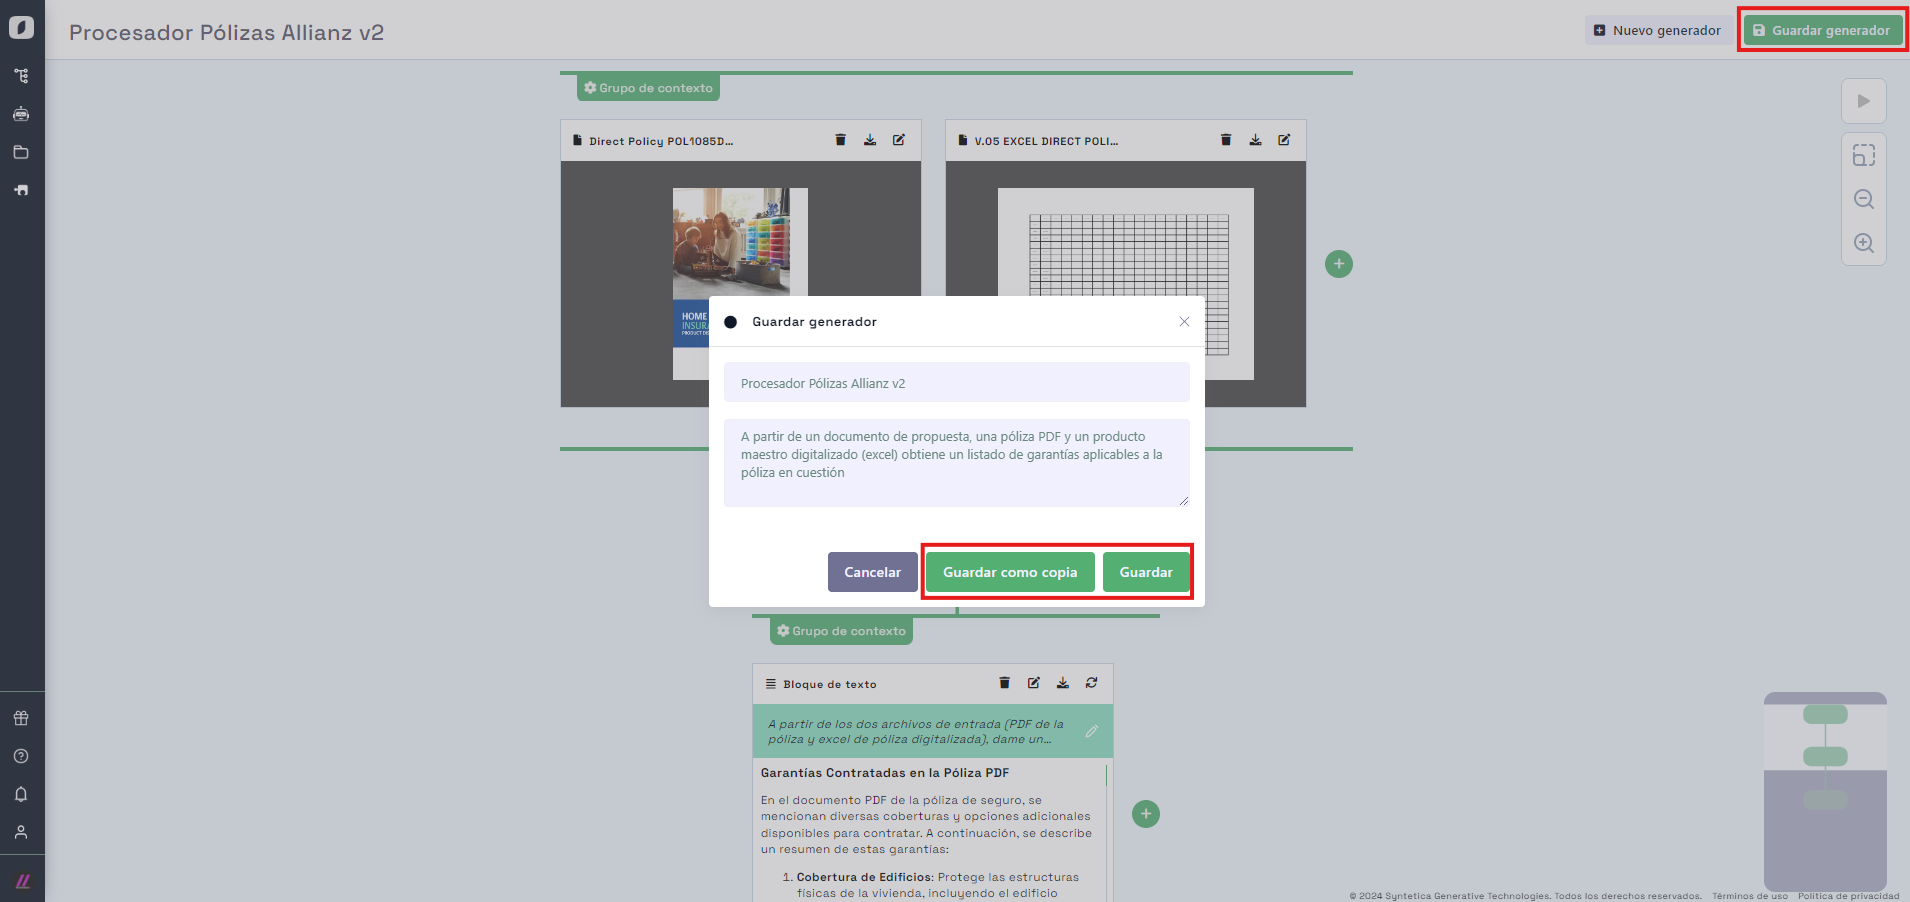
Once the application has been built, you can save the changes through the "Save Application" option, which will open a new dialog where you can set a name and description for the application.
 Initial view of the tool. Available types of generation blocks
You can choose whether to overwrite changes (option "Save") or save a copy (option "Save as Copy") if you want to keep the previous version intact.
It is crucial to follow the provided instructions to properly configure the blocks and context groups. This will ensure that the application works optimally and meets the specific objectives you have in mind.
Run a Generator as a Process
After creating a generator, you may want to run it as a process. To do this, select the generator you want to run and click on the "Edit" icon. In the dropdown menu that appears, select the option "Run as Process." This will start the generator and begin executing the configured tasks.
 Dropdown menu options for a generator, showing the "Run as Process" option
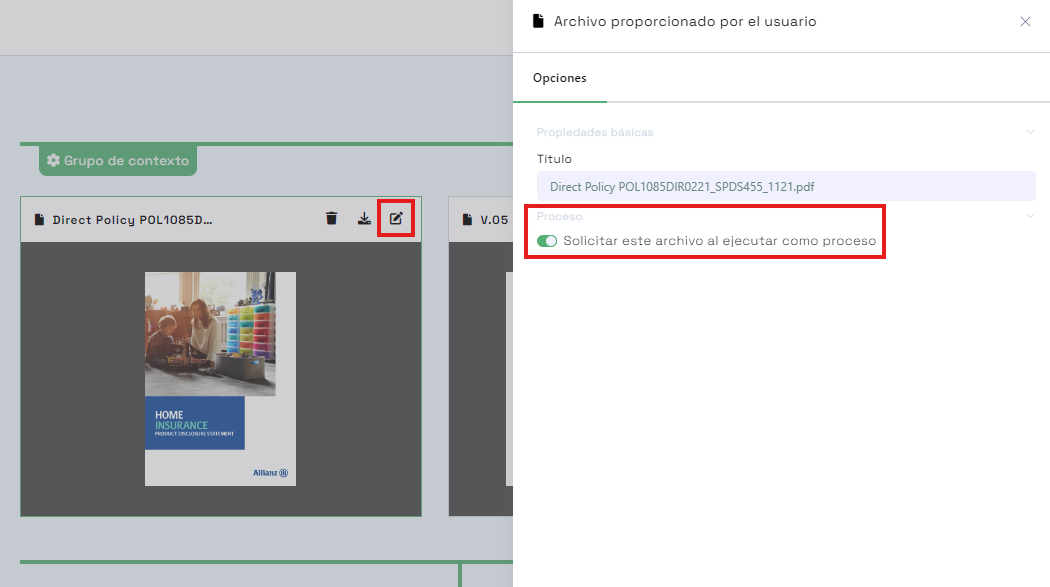
When running a generator as a process, you will be prompted for the input files configured to be requested from the user during the process. Similarly, there are other options related to running a process in the generation block's properties: - Do not regenerate when running as a process: This option indicates that the text block will not regenerate when the process runs if the option is active. - Deliver as output when running as a process: For generation and output blocks, this option sets that the generated content will be delivered as output once the process is completed.
 Input block properties as a process
It is important to note that running a generator as a process can require significant resources, depending on the complexity of the configured tasks. Make sure to review the configuration and adjust the parameters as needed before starting the process.
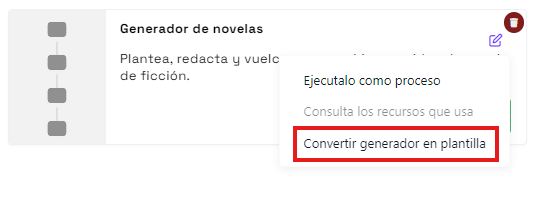
Convert a Generator into a Template
Another useful feature is the ability to convert a generator into a template. This is helpful if you want to reuse the generator's configuration in future projects. To convert a generator into a template, select the generator and click on the "Edit" icon. In the dropdown menu, select the option "Convert Generator into Template."
 Dropdown menu options for a generator, showing the "Convert Generator into Template" option
This action will open a new dialog where you can set options for the template to be created, such as template categorization tags, language, and whether to delete previous versions.
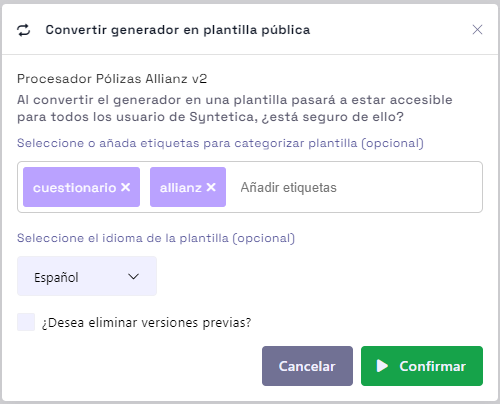 Template save form
Once converted into a template, the generator will be available to be used as the basis for